Welcome to MEETYOO Show! This guide will walk you through the first steps to quickly and easily create your own webcast and go live.
Step 1: Creating the Webcast
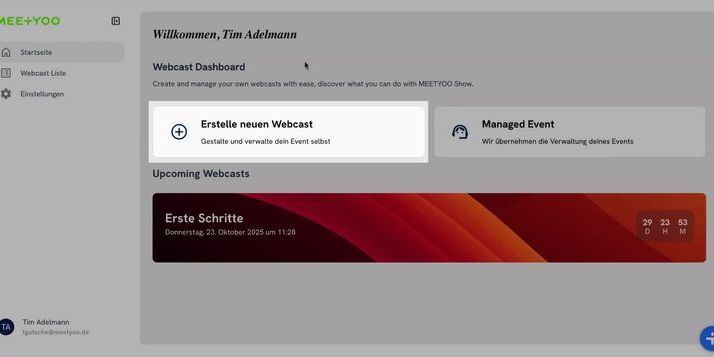
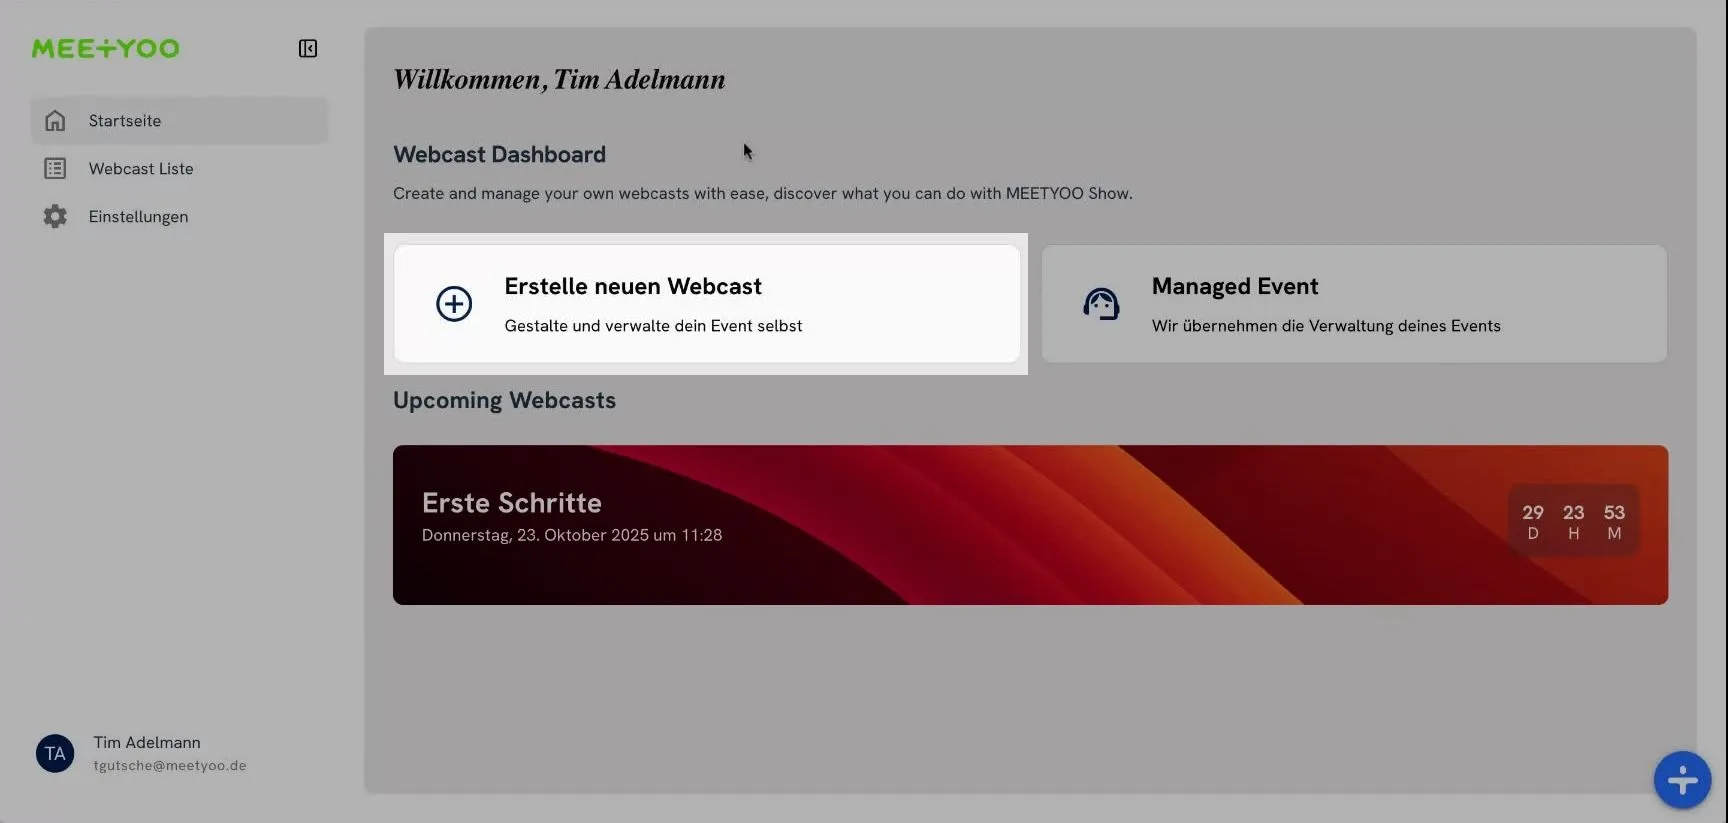
First, you need to log in to MEETYOO Show. On the dashboard, you'll find the option to create a new webcast.
- Create New Webcast: Click on the "Create New Webcast" button.
- Enter Details: Fill in the required fields:
- Event Name: Give your webcast a meaningful title. In the video, "Getting Started" is used.
- Start Time: Set the date and time for your event to begin.
- Description: Add a brief description of what your webcast is about.
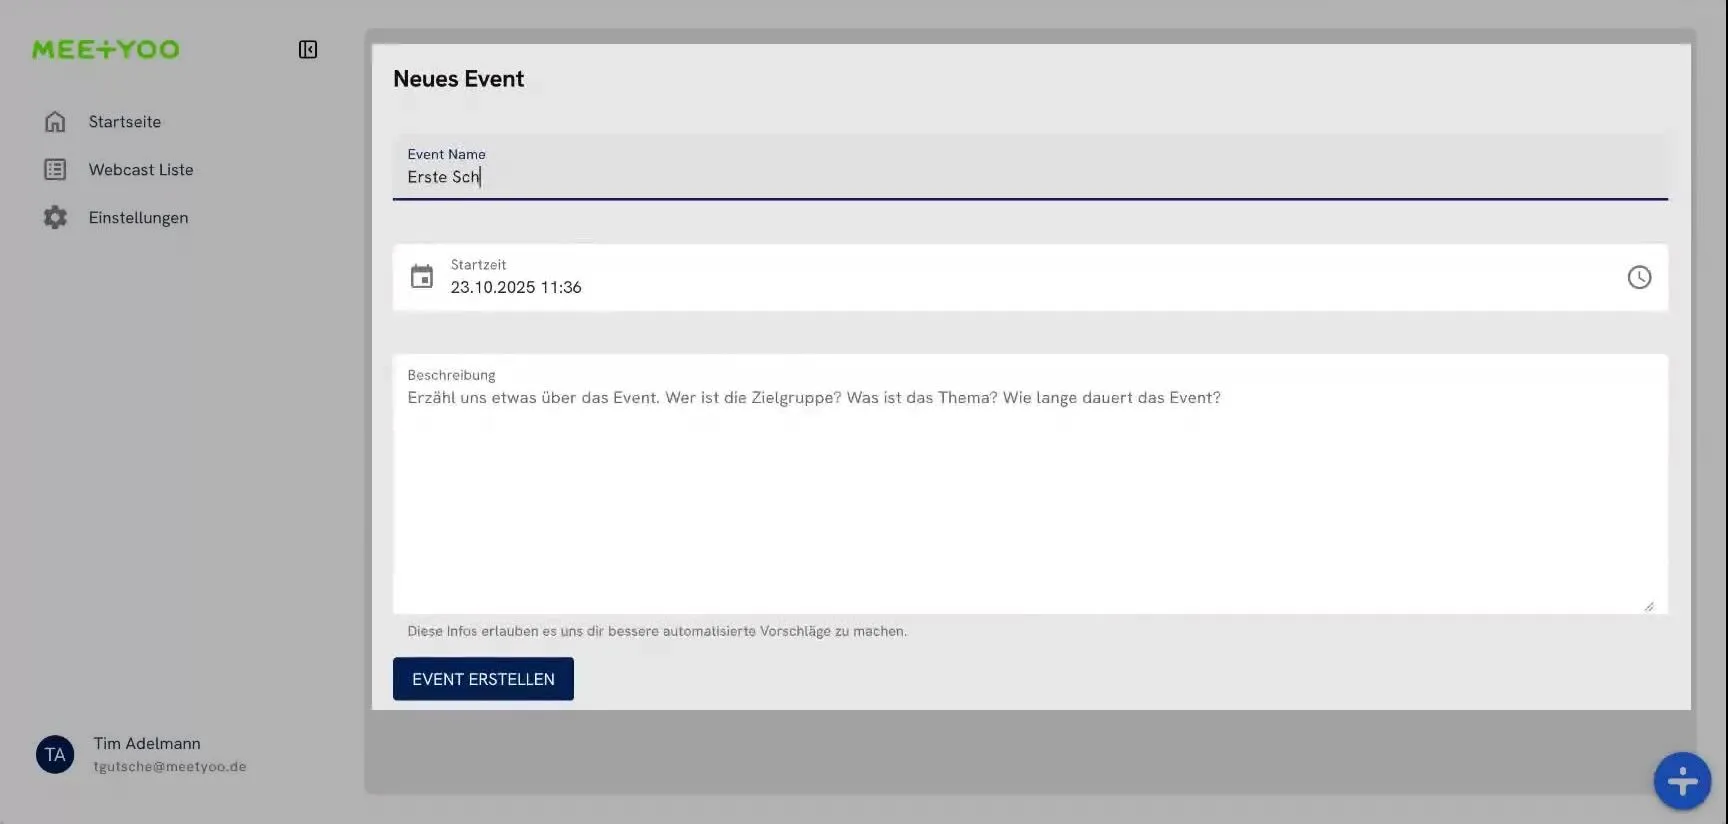
- Create Event: Finally, click "Create Event" to set up your webcast.
Step 2: The Event Overview
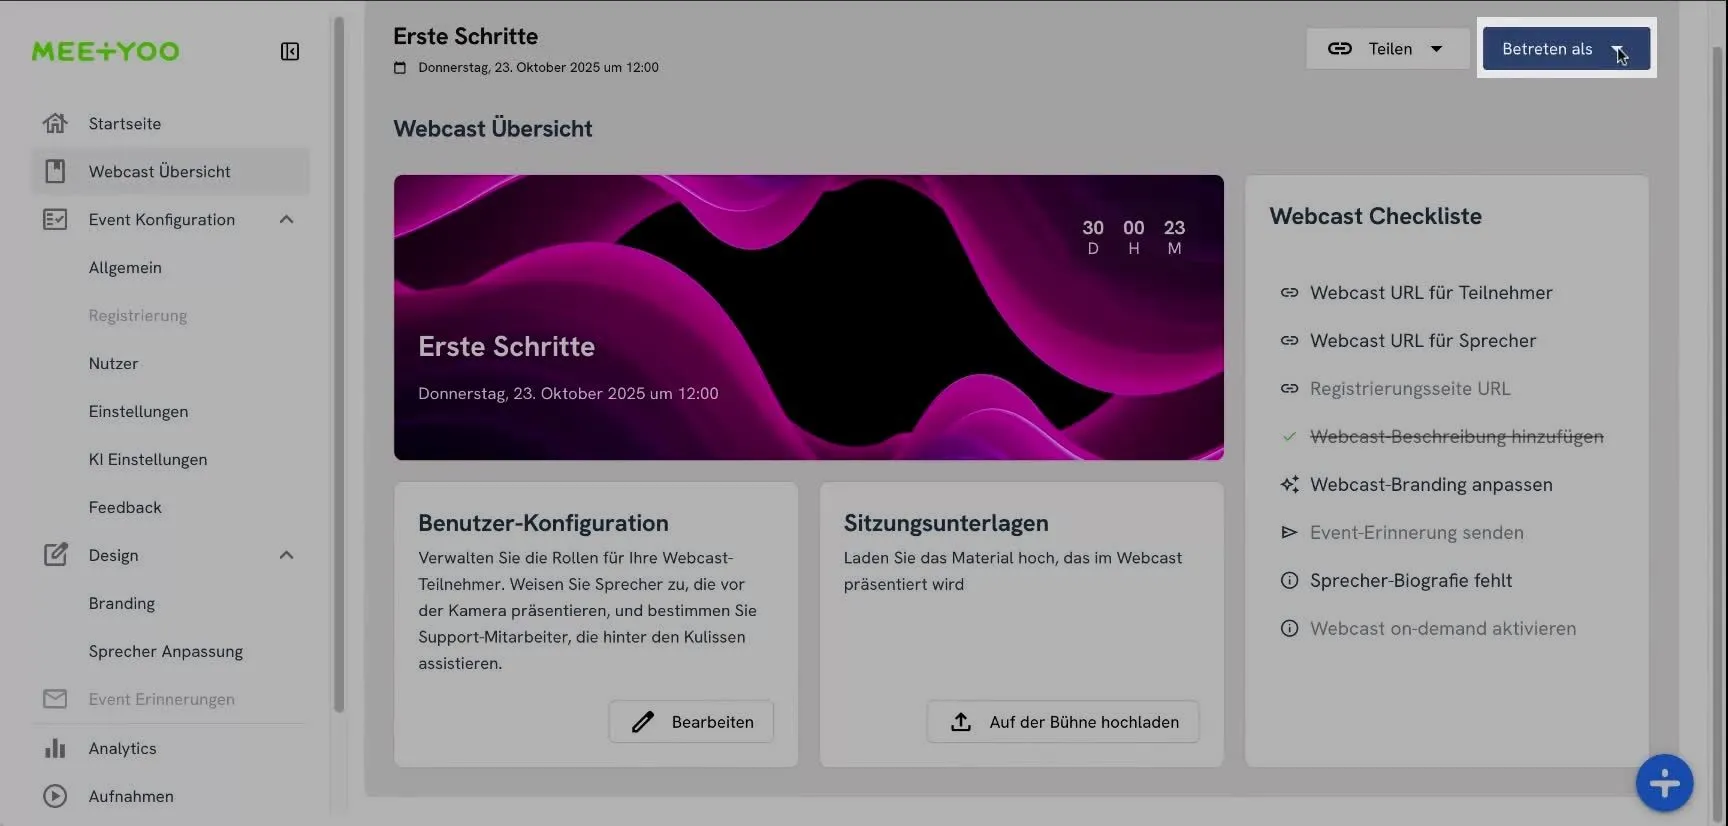
After creating the event, you'll be redirected to the Event Overview. This is your central hub for configuring and managing your webcast.
Here you'll see:
- Event Details: A summary of your created event.
- Configuration Menu: On the left side, you'll find various options to further customize your event.
- Webcast Checklist: A helpful list on the right side that guides you through the most important steps.

Step 3: Entering the Stage as Presenter
To start your webcast and go live, you need to enter the virtual stage.
- Join As: Click on the "Join As" button in the top right.
- Select Presenter: Choose the "as Presenter" option from the dropdown menu.
You'll now be redirected to the speaker view, where you can set up your camera and microphone and prepare for the live stream.
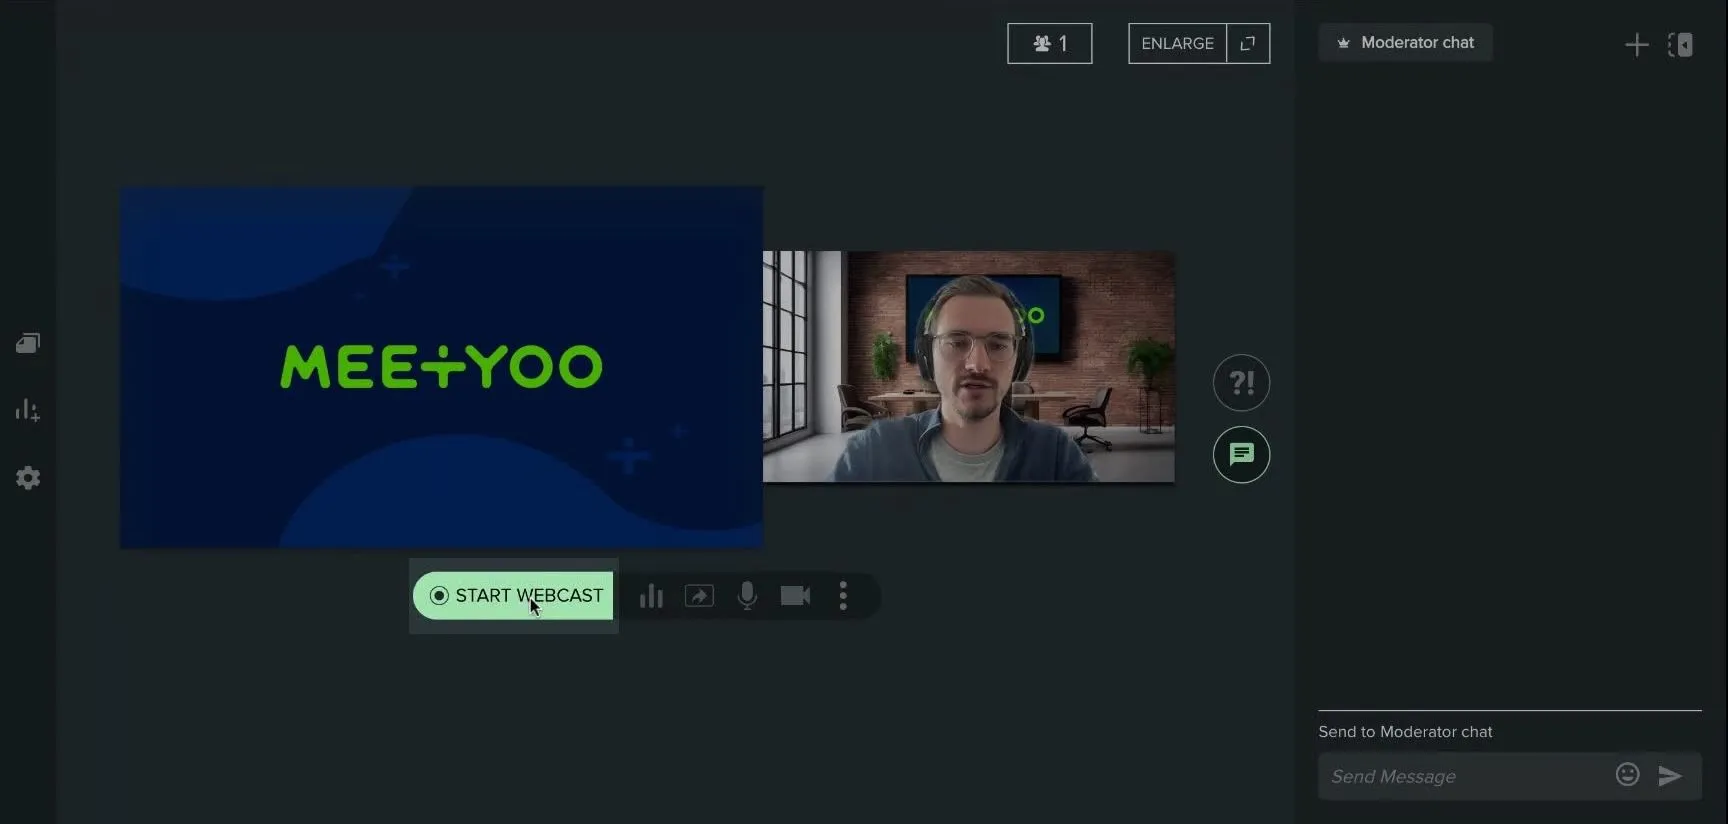
Step 4: Going Live with Your Webcast
Once you're ready to start your broadcast, the process is straightforward.
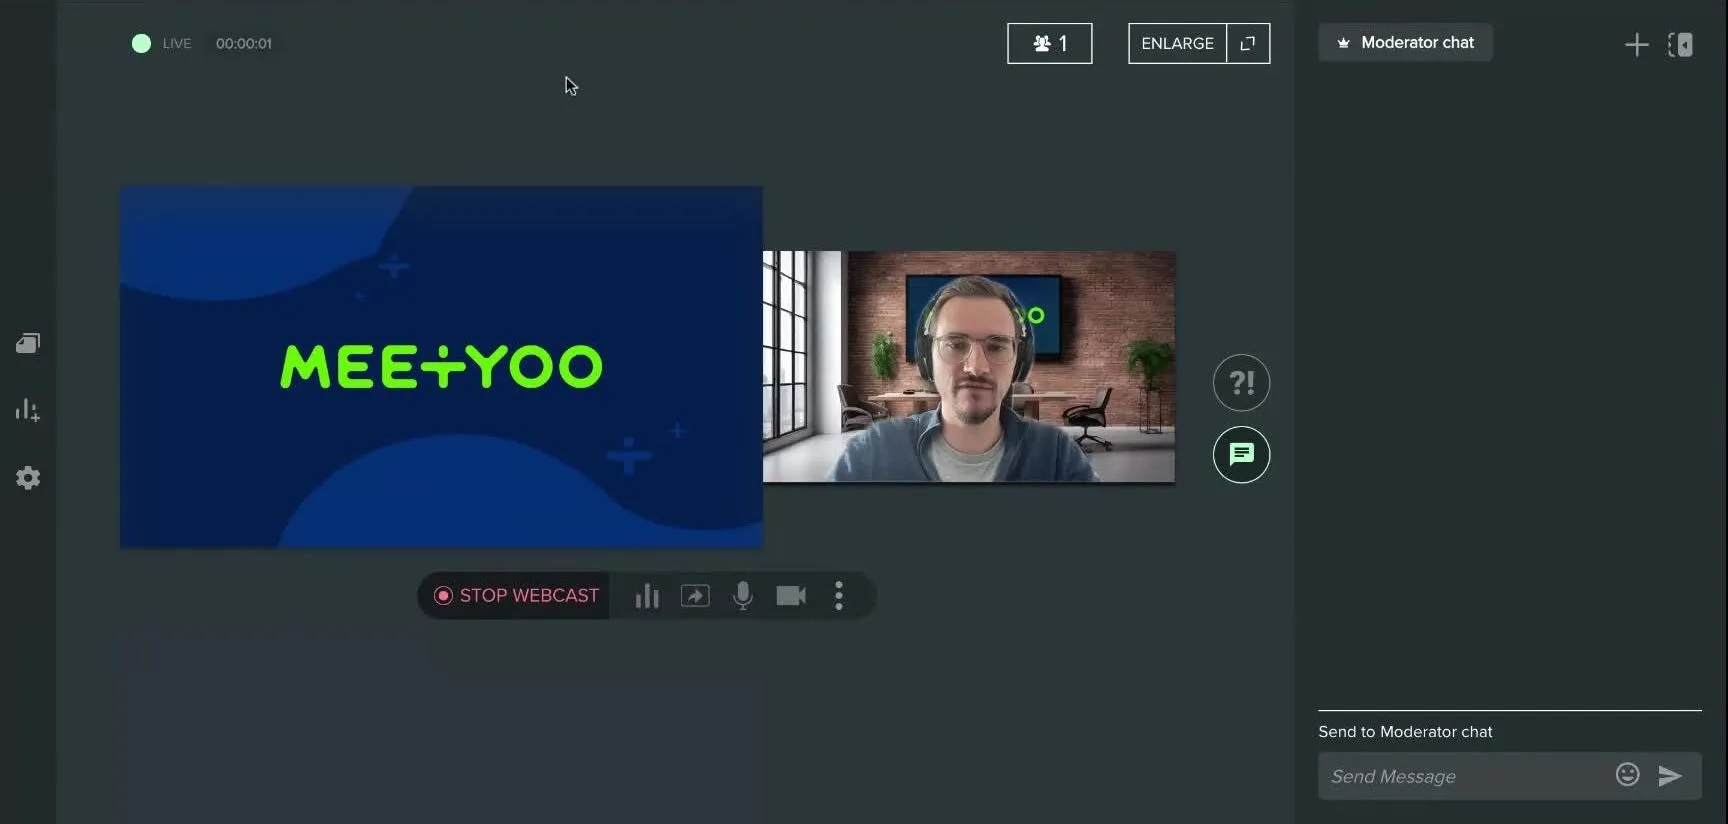
- Go Live: Click the "START WEBCAST" button at the bottom of your video preview.
- Live Status: Once you're live, you'll see a "LIVE" indicator in the top left along with a timer showing the duration of your broadcast.
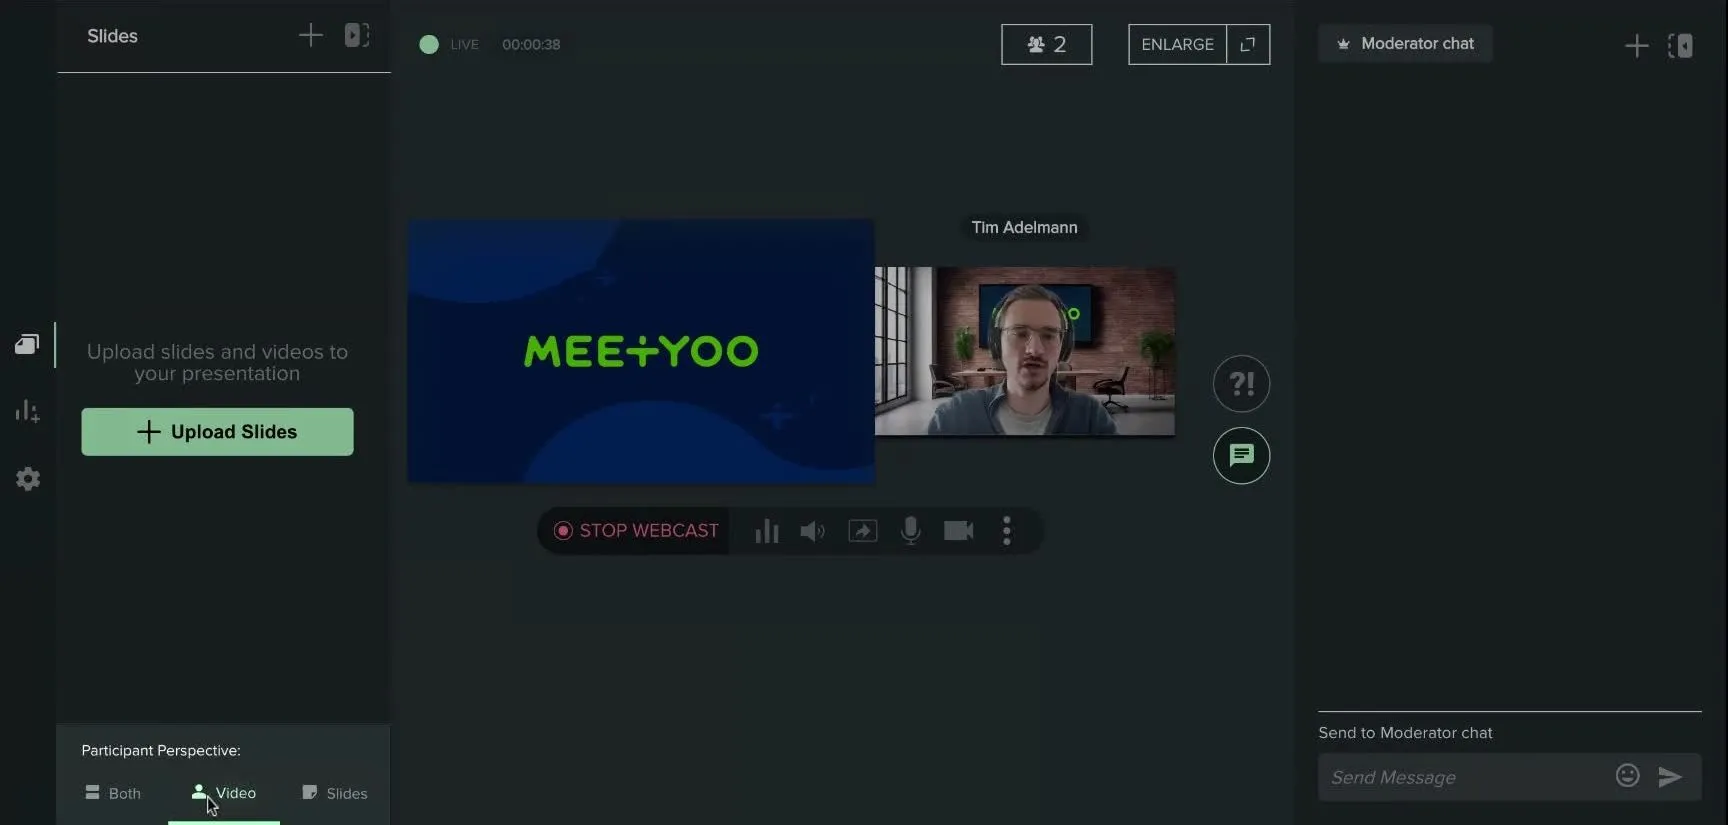
Step 5: Interaction and View Modes
During the live stream, you have various options to interact with your audience and control the view.
- Slides and Polls: On the left side, you can upload presentation slides ("Upload Slides") or create polls ("Polls") to engage your audience.
- Questions and Chat: On the right side, you can view submitted questions and manage the chat.
- Change View Mode: Under the "Slides" tab, you can adjust the view for participants. Select "Video" to show only your camera. The participant view will update accordingly. Note that there may be a delay of approximately 24 to 30 seconds.
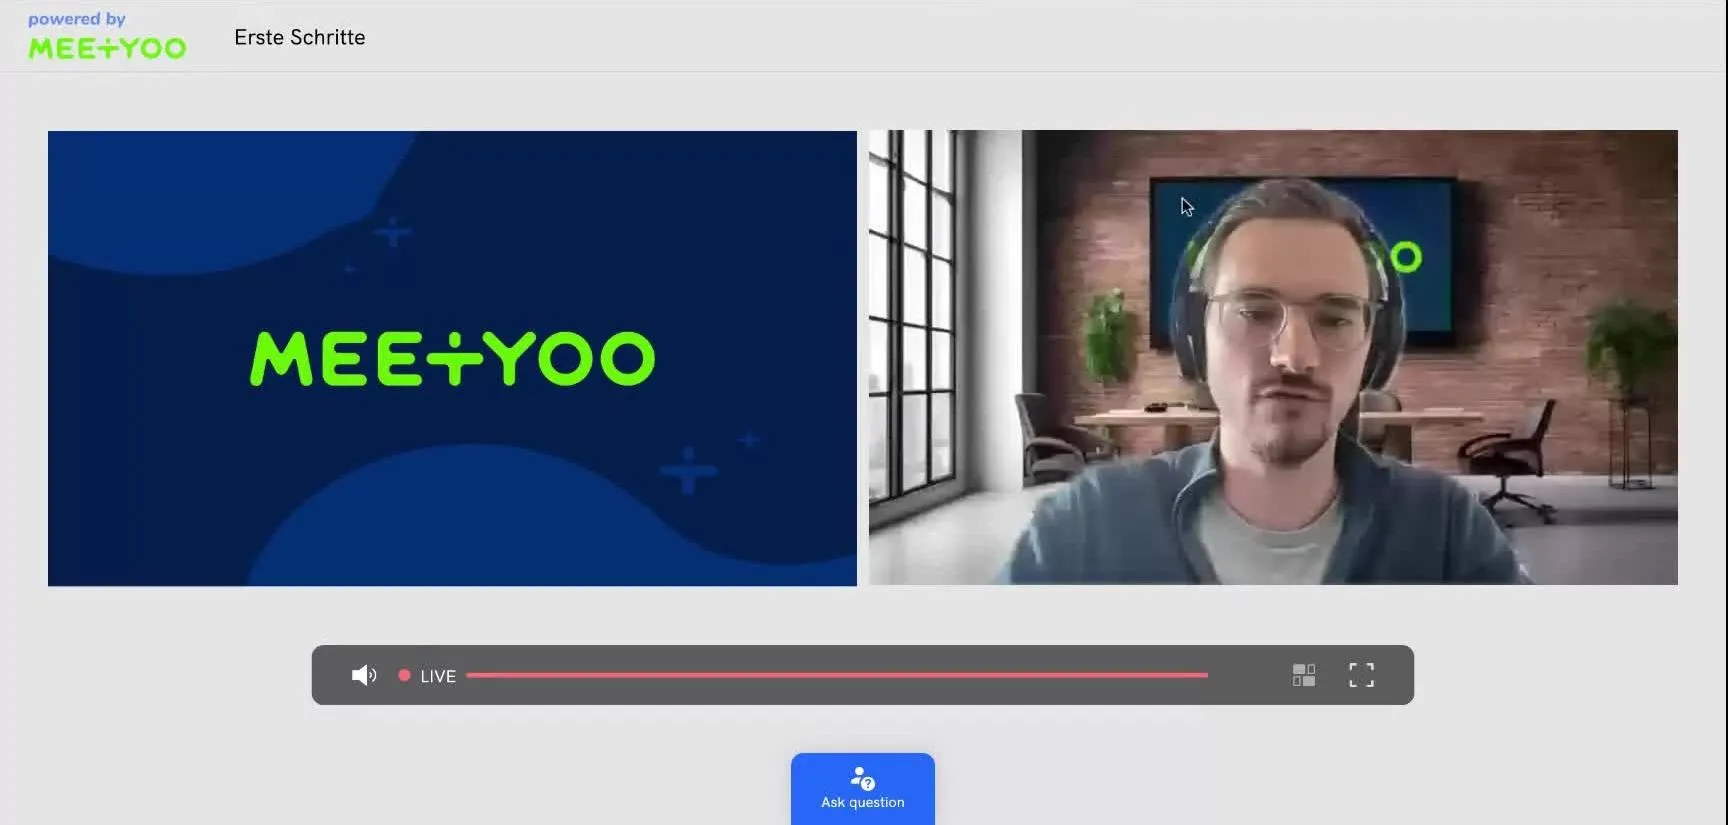
Step 6: Checking the Participant View
It's always a good idea to check what your participants see.
- Back to Overview: Switch back to the tab with the event overview.
- Join as Participant: Click "Join As" again, but this time select "as Participant".
- Watch Live Stream: A new tab will open showing you the live view from a participant's perspective.
That's it! You've successfully created and started your first webcast with MEETYOO Show.


