The ability to dynamically control your attendees' view during a webcast is a powerful tool to maintain high engagement. Whether you want to focus purely on your face, your slides, or an external application – you have full control.
In this guide, you will learn how to seamlessly switch between speaker views and how to optimally prepare and use your screen sharing to professionally convey your content.
1. The Speaker Views: Three Ways to Present Your Content
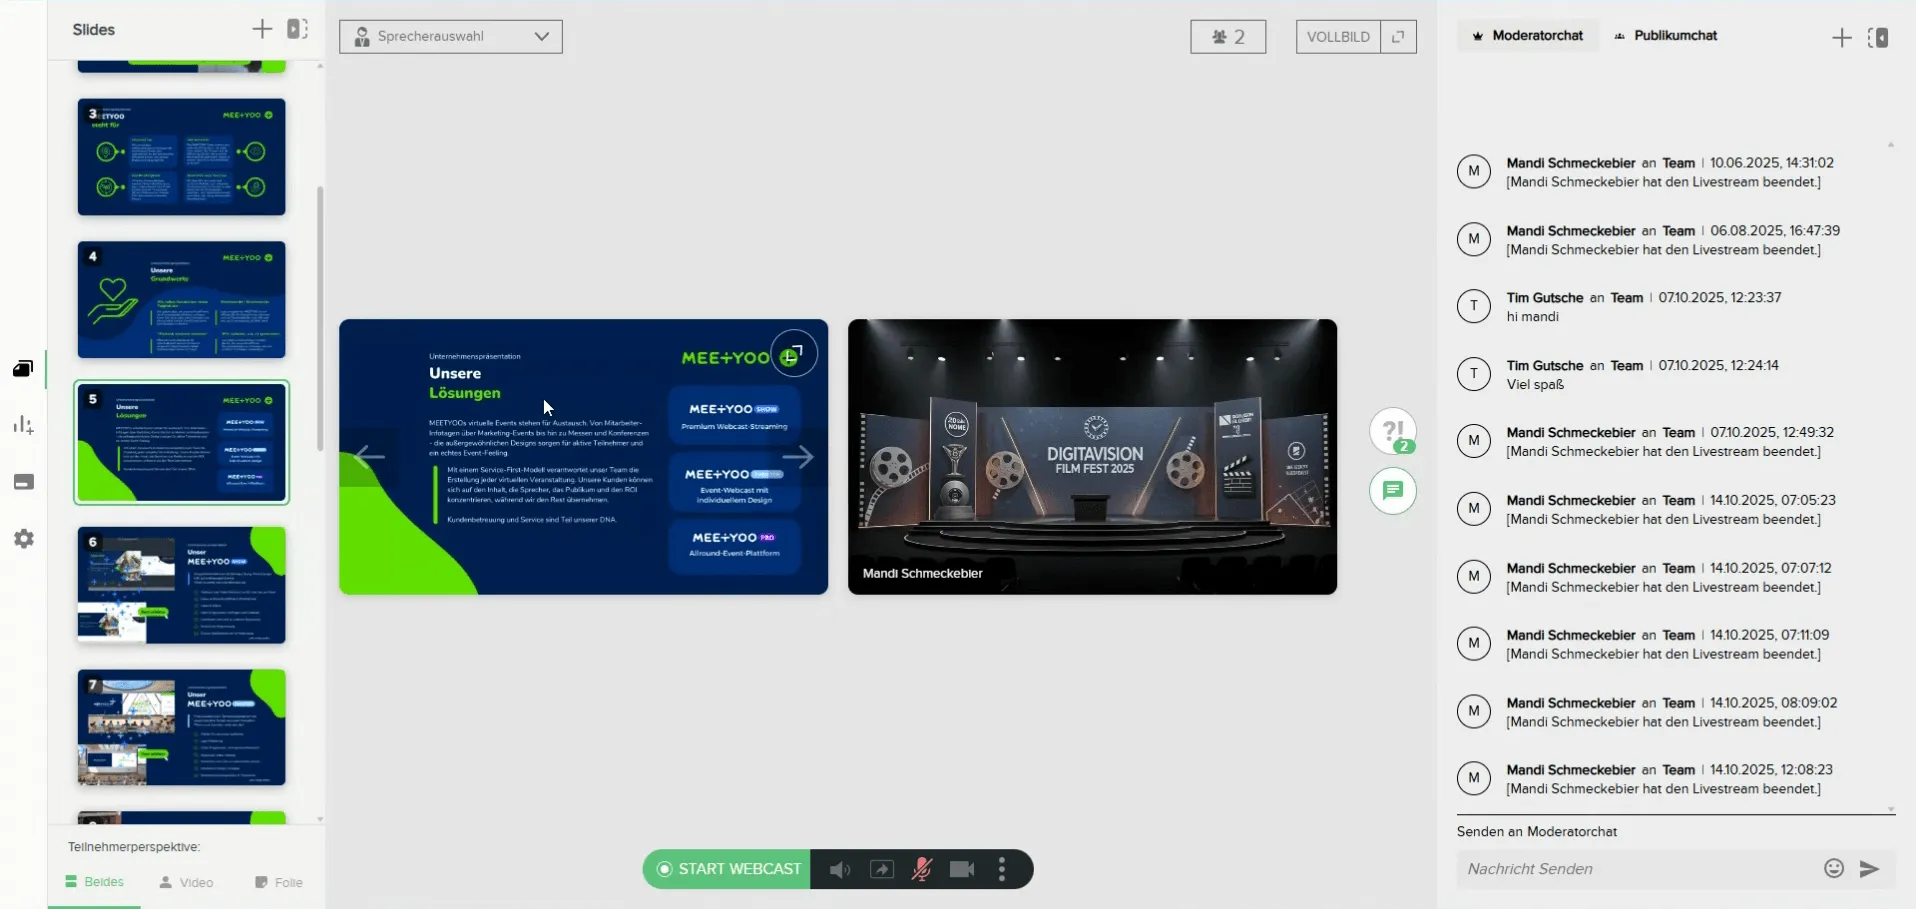
During your live webcast, you can flexibly switch between different perspectives for your audience. You control these views easily in the lower control area of your webcast environment.
The Three Main Views for Attendees:
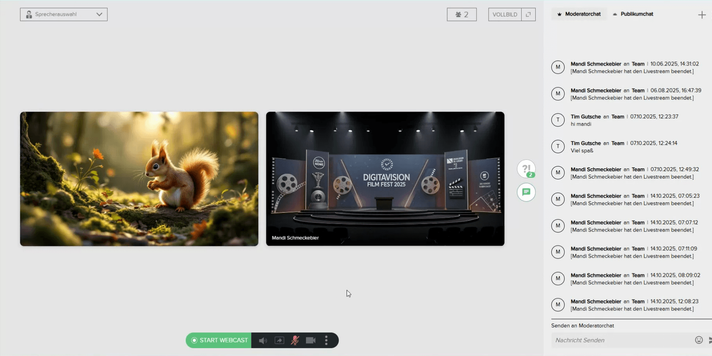
- Video-Only (Camera): Only your camera image is visible. Ideal for greetings, introductions, and Q&A sessions.
- Slide-Only (Presentation): Only your current slide is displayed.
- Both (Camera & Slide): Your camera image and the presentation are shown simultaneously.
Best Practice: Give Your Attendees the Choice
If you enable the "Both" view, your attendees can decide for themselves whether they want to see your camera or the presentation larger. This offers a high level of user-friendliness and engagement.
Recommendation: Always show the attendees "Both" when it is possible and useful. Only switch to "Video-Only" when your pure image is the most important source of information for a brief moment (e.g., during the welcome or emotional statements).
Guide: How to Change the Perspective
In the bottom area of your controls, you will find the buttons for changing the perspective.
| Action | When to Use? |
|---|---|
| Video | Introduction, Q&A, personal statements |
| Both | During the main presentation |
| Presentation | When the slides require all the attention |
2. Screensharing: Seamlessly Share External Applications
Sometimes you need to show more than just your presentation slides – for example, a live demo, a website, or another document. This is where screensharing comes in.
Important: Unlike the presentation, where only the current slide is shown, screensharing shares an external source (a window or your entire screen).
Guide: Optimally Prepare Screensharing
To make screensharing as smooth as possible, you should set it up before your webcast starts.
- Click the "Share Screen" button (or similar function) in the lower control area.
- A dialog will open where you can select which tab, window, or entire screen you want to share.
- Select the desired source and click "Share" (or "Apply").

Note: It may take a moment for the connection to establish. By doing this in advance, you avoid delays during your live stream.
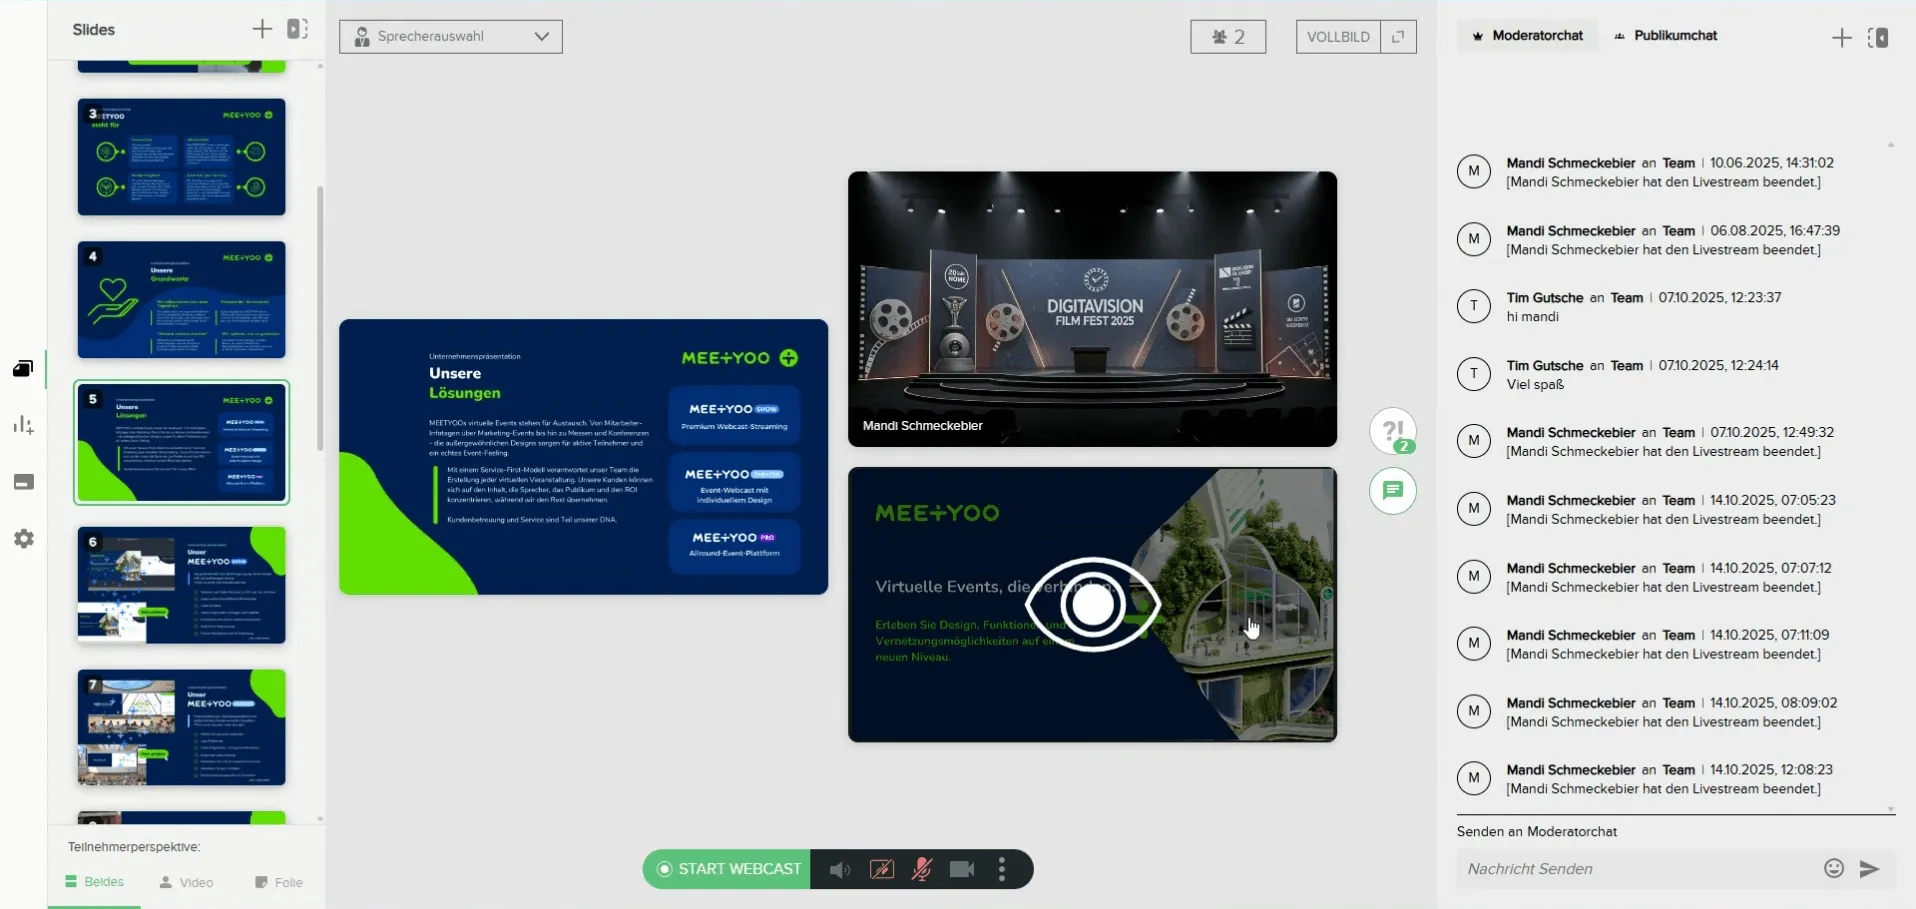
Activate and End Screensharing in the Stream
Once the preparation is complete, the sharing option appears as a tile in your control panel. You can recognize it by the eye icon.
- Activate: During your live stream, click the eye icon of the prepared screen share.
- The attendees' view immediately switches to your shared screen. Your camera image is no longer visible.
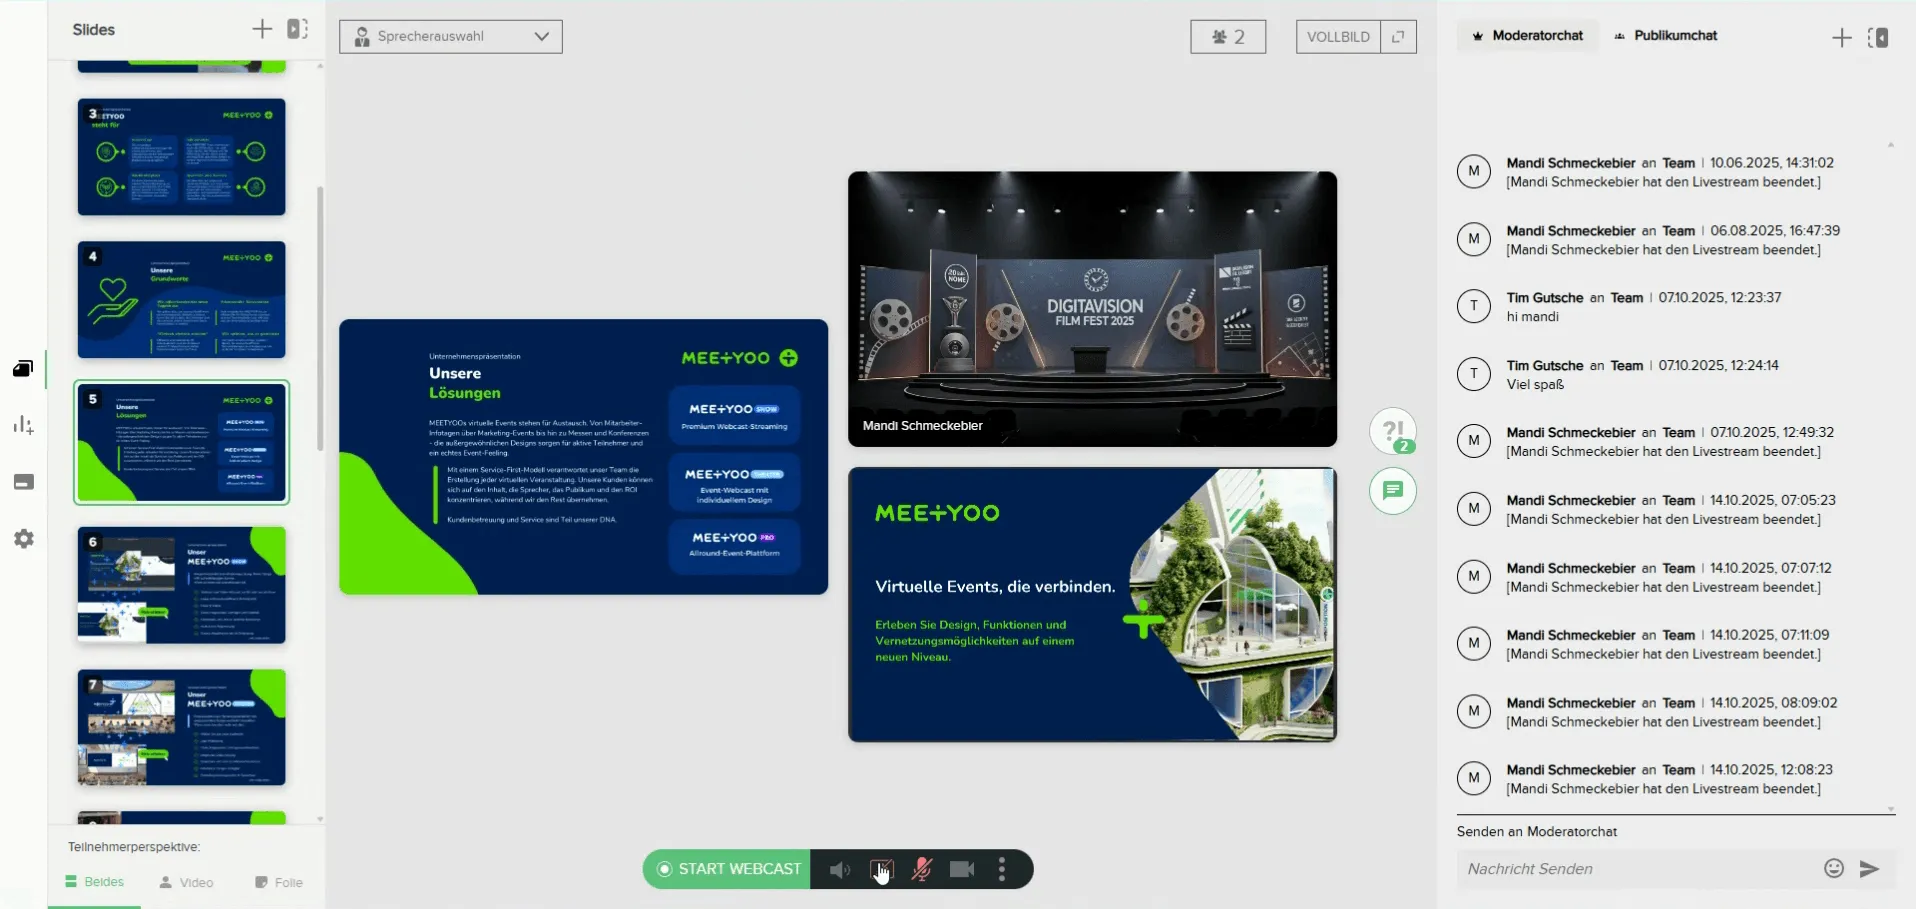
- End (switch back): Simply click the eye icon again.
- The view jumps back to the last active speaker view (e.g., "Both" or "Video").
Pro Tip: Use the eye icon to quickly switch between your presentation/camera and your screen sharing during the stream. Since the connection is already established, the switch is seamless and without any setup delay.
Completely Deactivate Screensharing Connection
If you no longer need screensharing for the entire stream and want to avoid accidental activation, you can completely end the share.
- Click the corresponding "Deactivate Screen Sharing" button (or similar) below the preview tile.
Your live webcast environment will then only show the tiles for your camera image and your slide views.