Assigning the correct roles is essential for a smooth and professional webcast. Whether you need support with answering questions or plan to have active speakers on stage – each role has specific rights and duties.
In this guide, you will learn how to set up different user roles in your webcast and understand the differences between moderators, presenters, and speaker information.
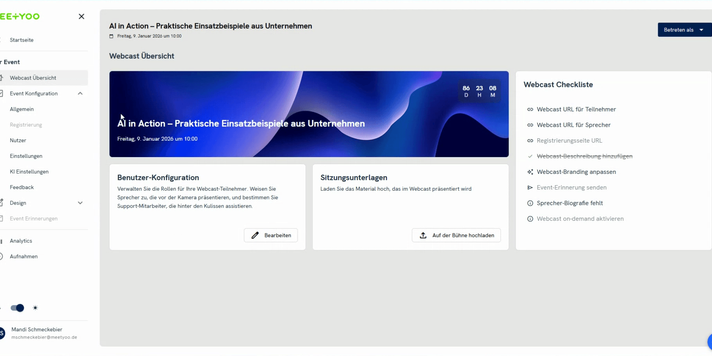
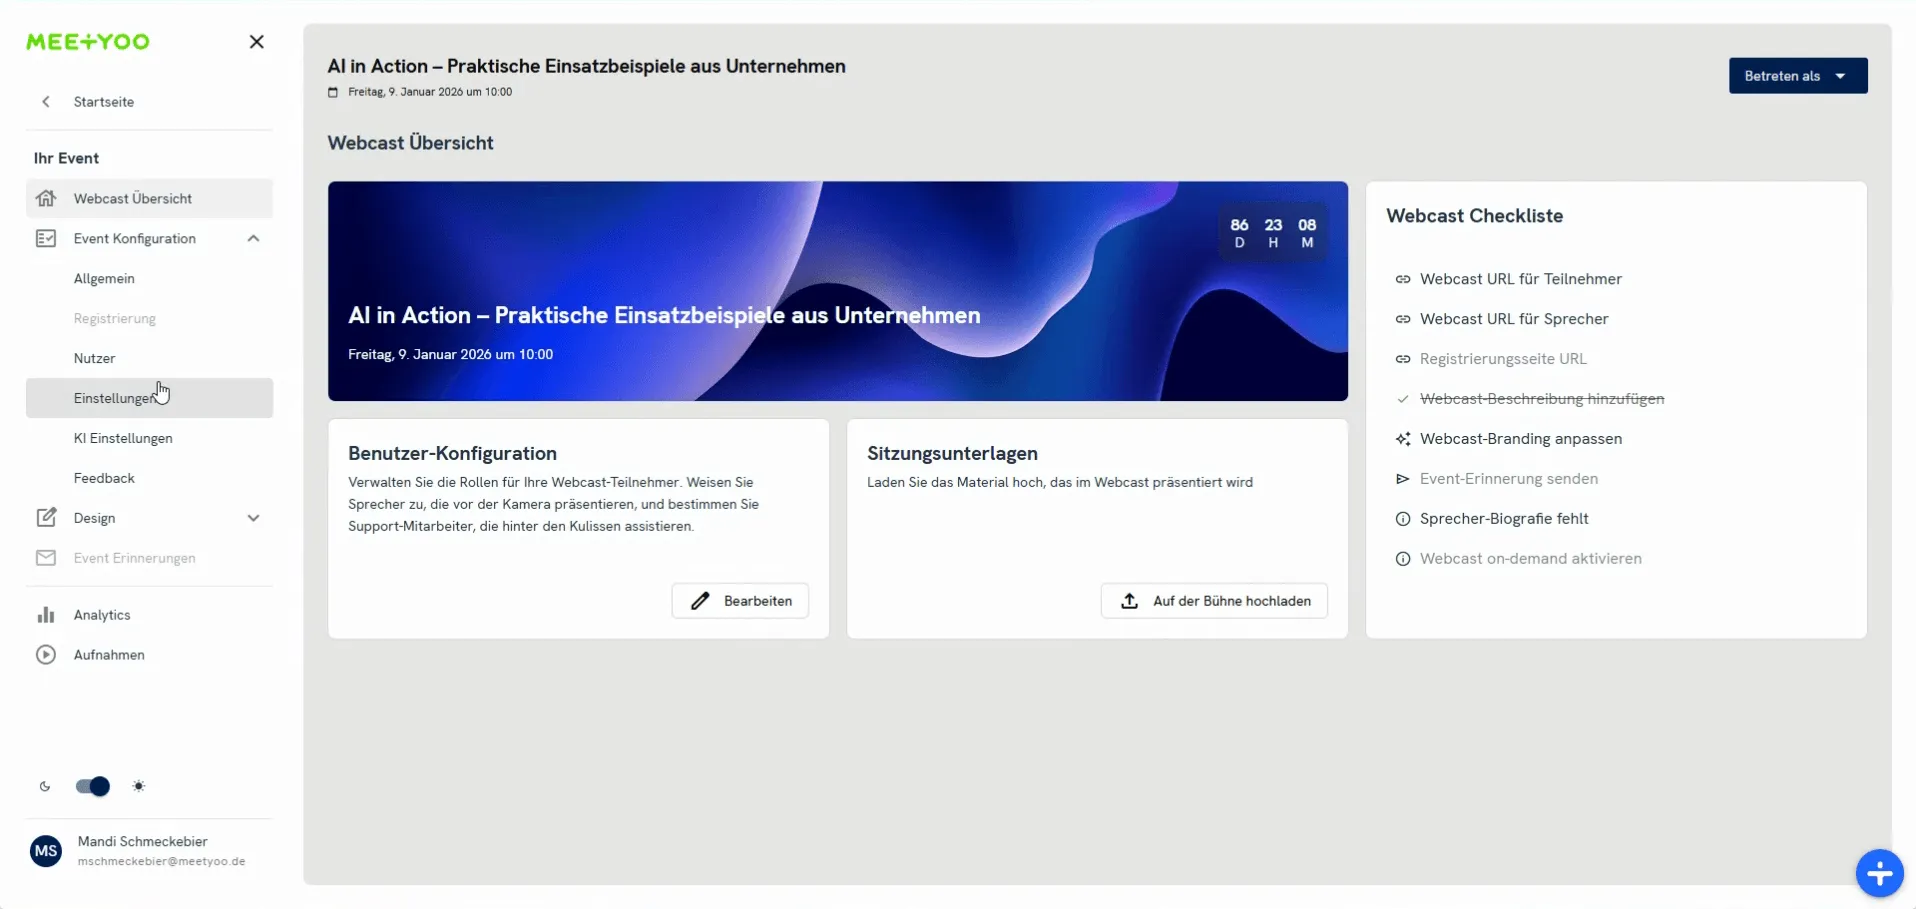
1. User Management in the Webcast Backend
To start with user management, navigate to the Event Configuration area in your webcast backend and select Users (Nutzer).
Here you will find four tabs for managing your webcast participants:
- Attendees (Zuschauer) (Standard role for all participants who register or use the link)
- Moderators (Moderatoren) (Helpers in the background without camera/microphone access)
- Presenters (Präsentatoren) (Active speakers with camera/microphone access)
- Speaker Information (Sprecher-Informationen) (Additional information and bios about speakers, visible to attendees)
2. Setting up the Moderator Access (M-Role: Background Helper)
Moderators are your silent helpers in the backend. They do not have camera or microphone access, operating in the background without being seen or heard.
Moderator Tasks:
- Question Management: Labeling and prioritizing incoming questions in the Q&A section.
- Internal Chat: Written chat with presenters and other moderators (Moderator Chat) for feedback and coordination.
- Public Chat: Communication with attendees in the public chat.
- Polls: Starting and sharing poll results.
Important: Moderator access must be created before the event, and the login details (email, password, link) must be sent to the respective person.
How to add a Moderator:
- Switch to the Moderators tab and click + Add Moderator (+ Moderator hinzufügen).
- A dialogue window will open. Enter the Email Address and the desired Display Name (Anzeigenamen).
- Choose a Password. You can set your own or generate a secure one using the icon.
Attention: The password cannot be viewed again after saving. Make sure to note it down or save it securely so you can share it with the person.
- Ensure that Moderator is selected under Role (Rolle).
- Click Save (Speichern).

After saving, the new moderator will appear in the list.
3. Setting up the Presenter Access (P-Role: Active Speaker on Stage)
Presenters are the active participants on your virtual stage. They are the only users who have camera and microphone access and are thus live in the stream and can be heard.
Important: As the event organizer, you do not need an extra Presenter access. However, all other active speakers must be set up as Presenters.
Presenter Tasks:
- Live Streaming: Transmitting video and audio (speaking, being seen).
- Content Control: Clicking through presentations (if not managed by a moderator).
- Interaction: Answering live questions.
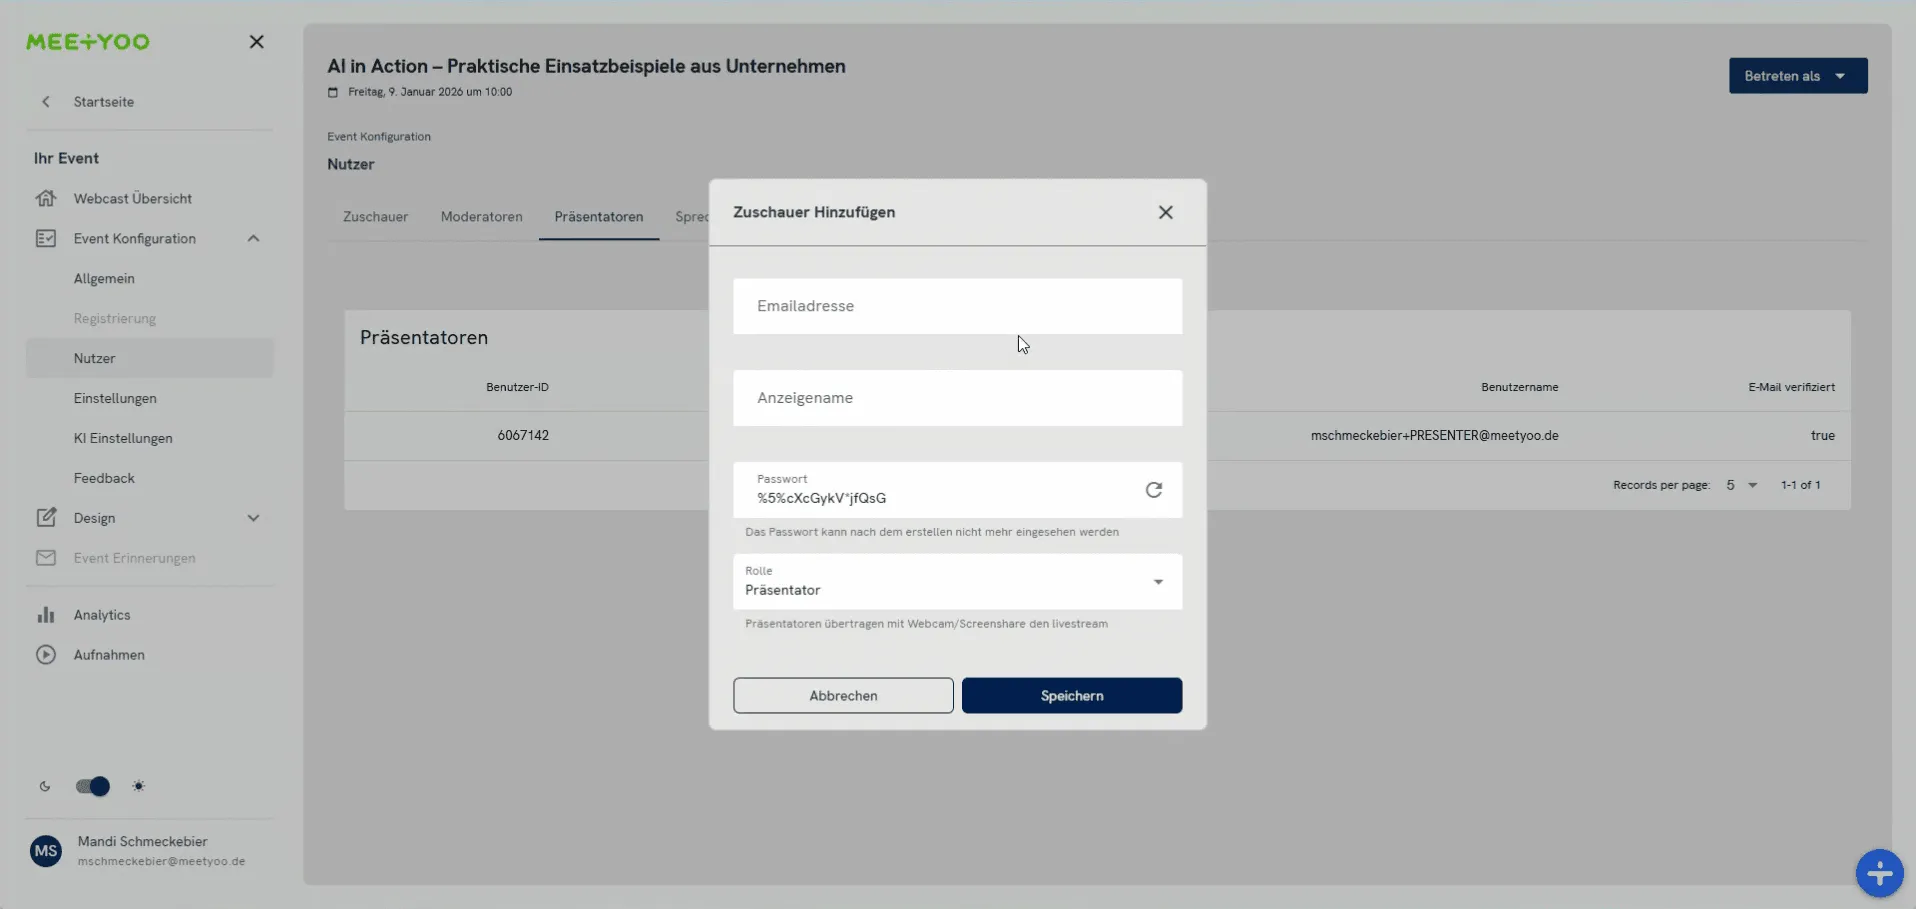
How to add a Presenter:
- Switch to the Presenters tab (Präsentatoren) and click + Add Presenter (+ Präsentator hinzufügen).
- Enter the Email Address and the desired Display Name of the presenter.
- Assign or generate a Password. Remember: You must communicate the password separately to the person.
- Ensure that Presenter (Präsentator) is selected under Role.
- Click Save.
4. Speaker Information (Public Bio and Image)
Speaker Information is not an account and does not require login details. It is metadata displayed directly to your attendees during the live event. It serves to introduce the speakers and provide more information about their background.
What does Speaker Information include?
- Name
- Title (e.g., Project Manager)
- Short biography (Bio)
- Photo and thumbnail image
How to add Speaker Information:
- Switch to the Speaker Information tab (Sprecher-Informationen) and click + Add Speaker Information (+ Sprecherinformation hinzufügen).
- Enter Name, Title, and a Biography (Biografie).
- Upload a Photo and optionally a Thumbnail.
- Click Save.

This information will then be displayed in the live webcast in the "Speaker" area for attendees when you open the link to test the webcast.
5. Sharing Access Links for Presenters and Moderators
After creating the access accounts, you must send the login details and the link to your webcast's "stage area" to your speakers and helpers.
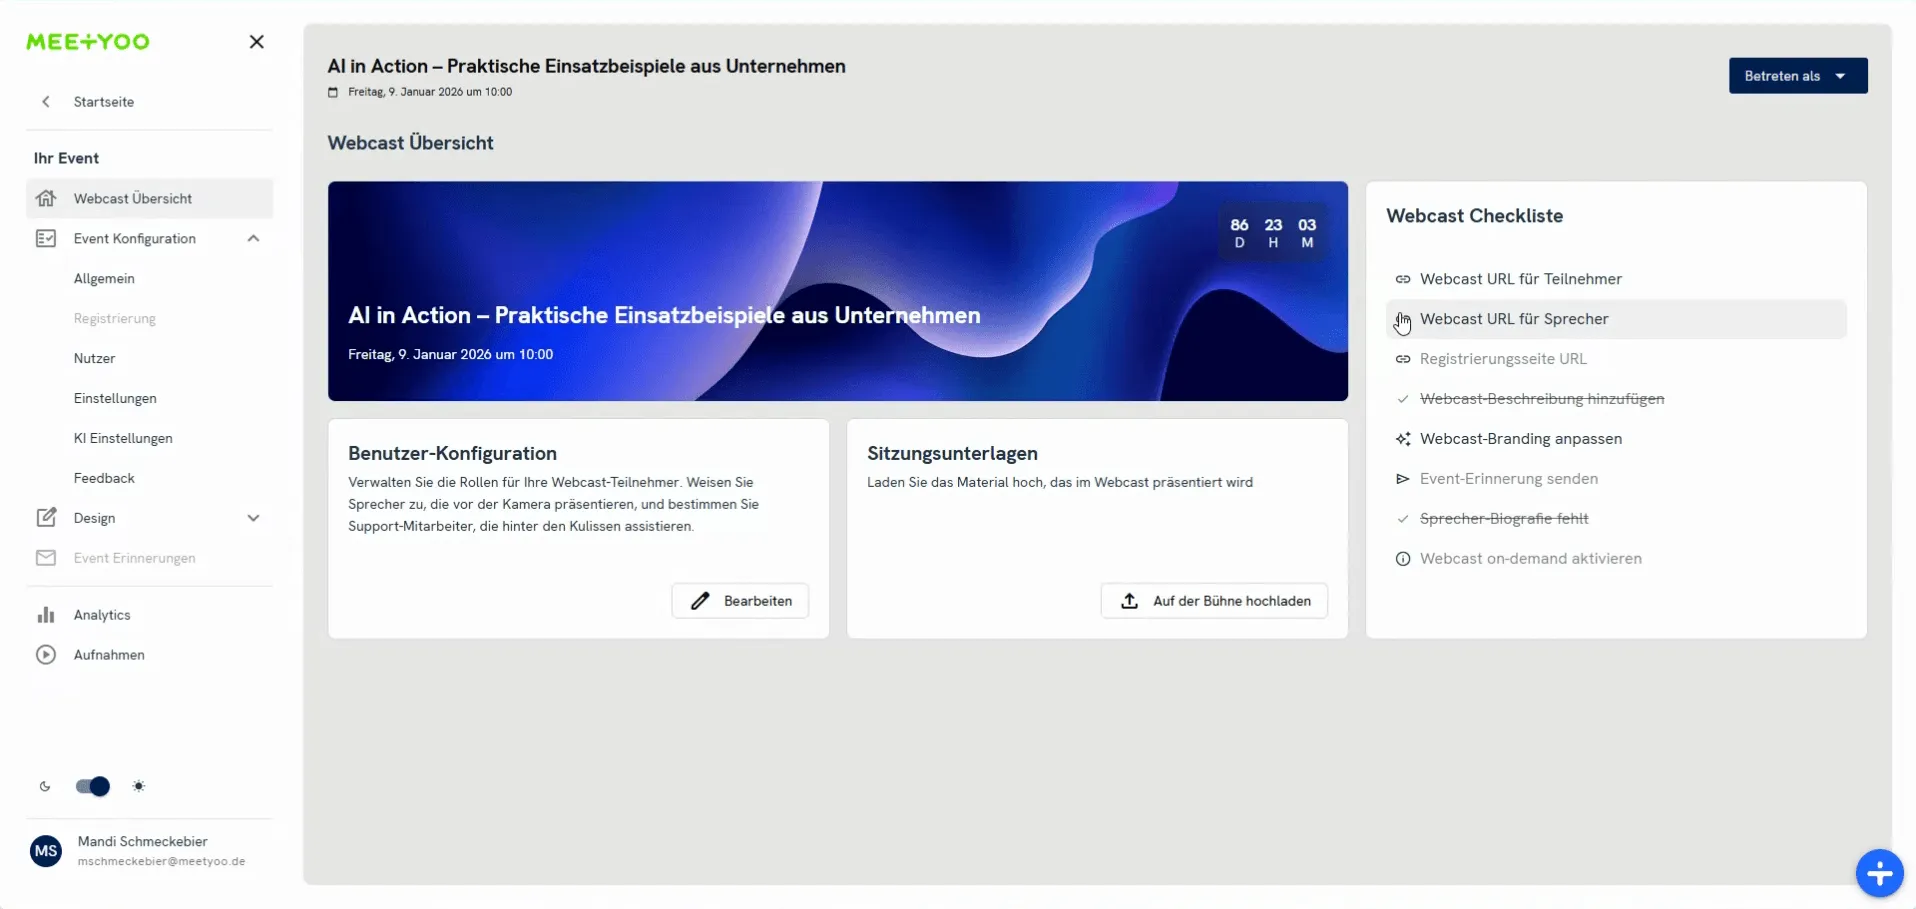
The links are easily found on the Webcast Overview (Webcast Übersicht):
- Navigate back to the Webcast Overview.
- On the right side, under the Webcast Checklist (Webcast Checkliste), you will find the item Webcast URL for Speakers (Webcast-URL für Sprecher).
- Click the link button next to it to copy the Webcast URL for Speakers.
Send this link along with the Email Address and the Password you assigned to your moderators and presenters.
Key Difference at Login:
| Role | Link | Login | View in the Live Tool |
|---|---|---|---|
| Moderator (M) | Webcast URL for Speakers | Email & Password | Has no camera slot, cannot speak, but can manage questions and chat in the background. |
| Presenter (P) | Webcast URL for Speakers | Email & Password | Has a camera slot, can activate camera/microphone, and is the active speaker. |
By setting up these roles and clearly assigning tasks, you create the best conditions for a structured and successful live webcast.