Congratulations! Your first webcast is coming up. The role as a speaker is exciting and requires a few preparations in the backend.
This guide provides you with all the essential best practices and instructions so you can start your live stream securely and professionally and master the interaction with your audience.
1. Before the Start: Your Technical Setup
Before you click the start button, you should check your audio, video, and background settings.
Set up Camera Image, Microphone, and Background
To ensure a professional presentation, you should have control over your technical environment.
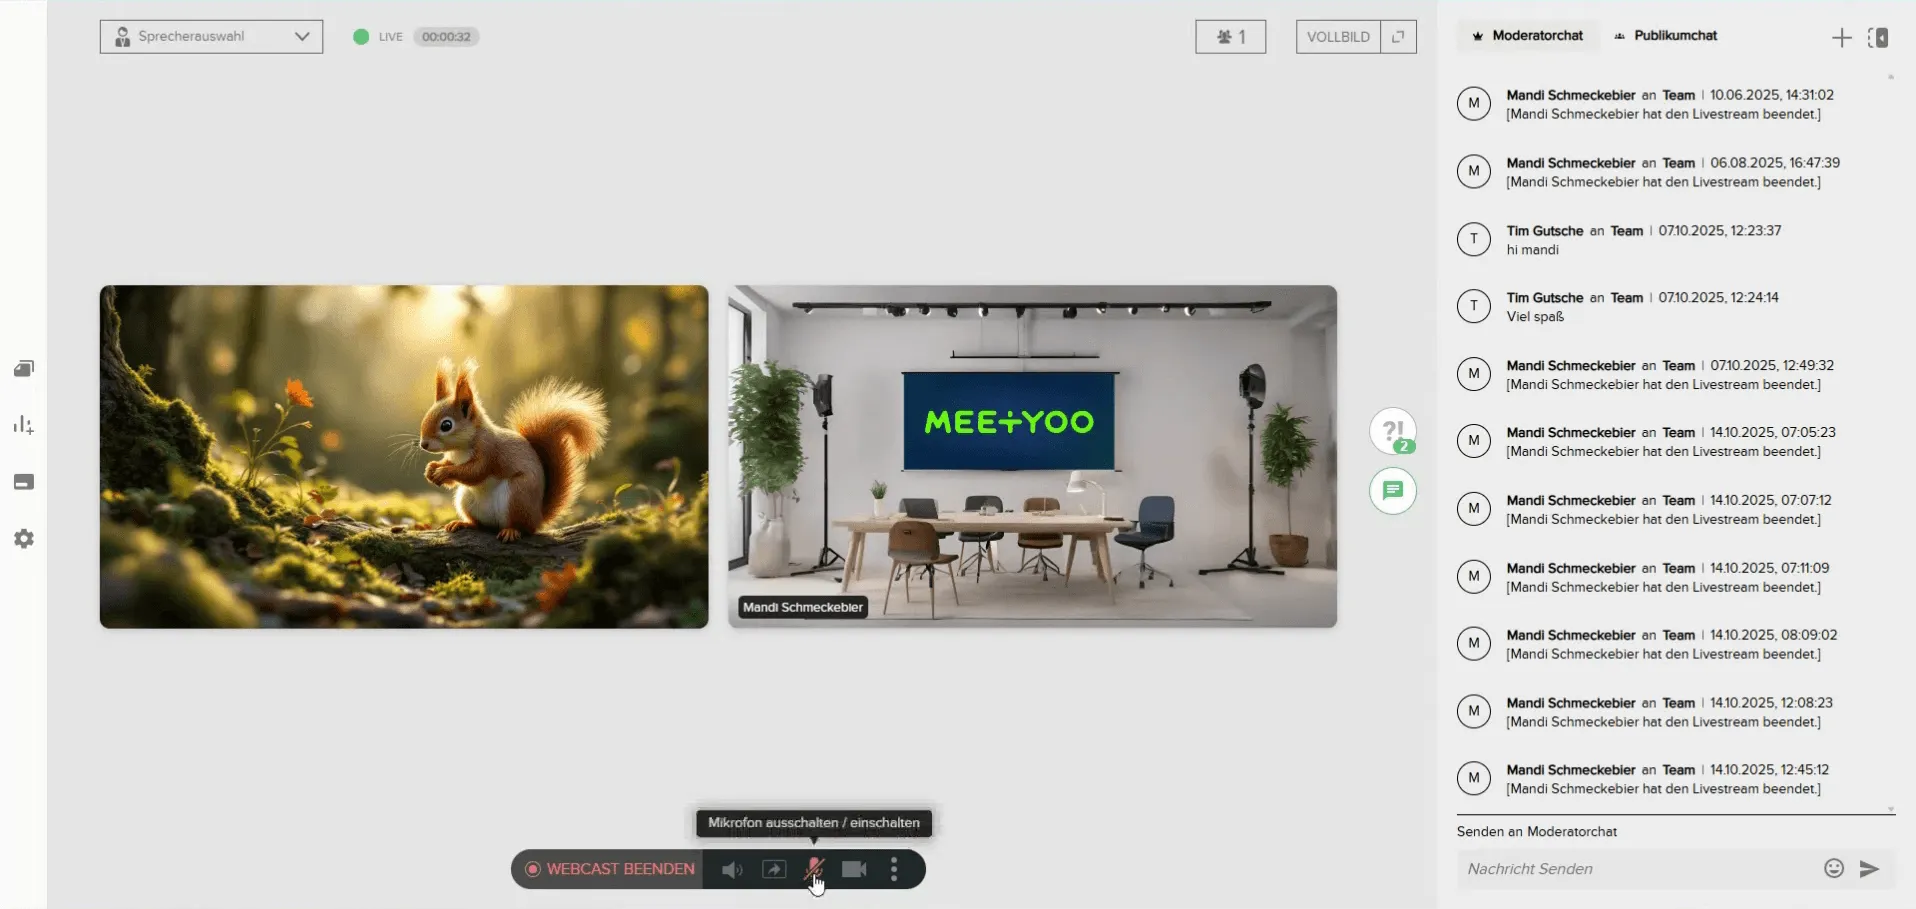
- Join as a Speaker: Click the button in the Webcast Overview in the top right and select 'Sprecher' (Speaker) to open the separate moderator tab.
- Camera and Microphone Settings: In the bottom left of your moderator area, you will find the settings options for camera and microphone. Select the correct devices to ensure your audience can see and hear you in the best quality.
Tip: The first time you log in, your browser may ask for permissions for the camera and microphone. Make sure you allow these and select the correct devices.
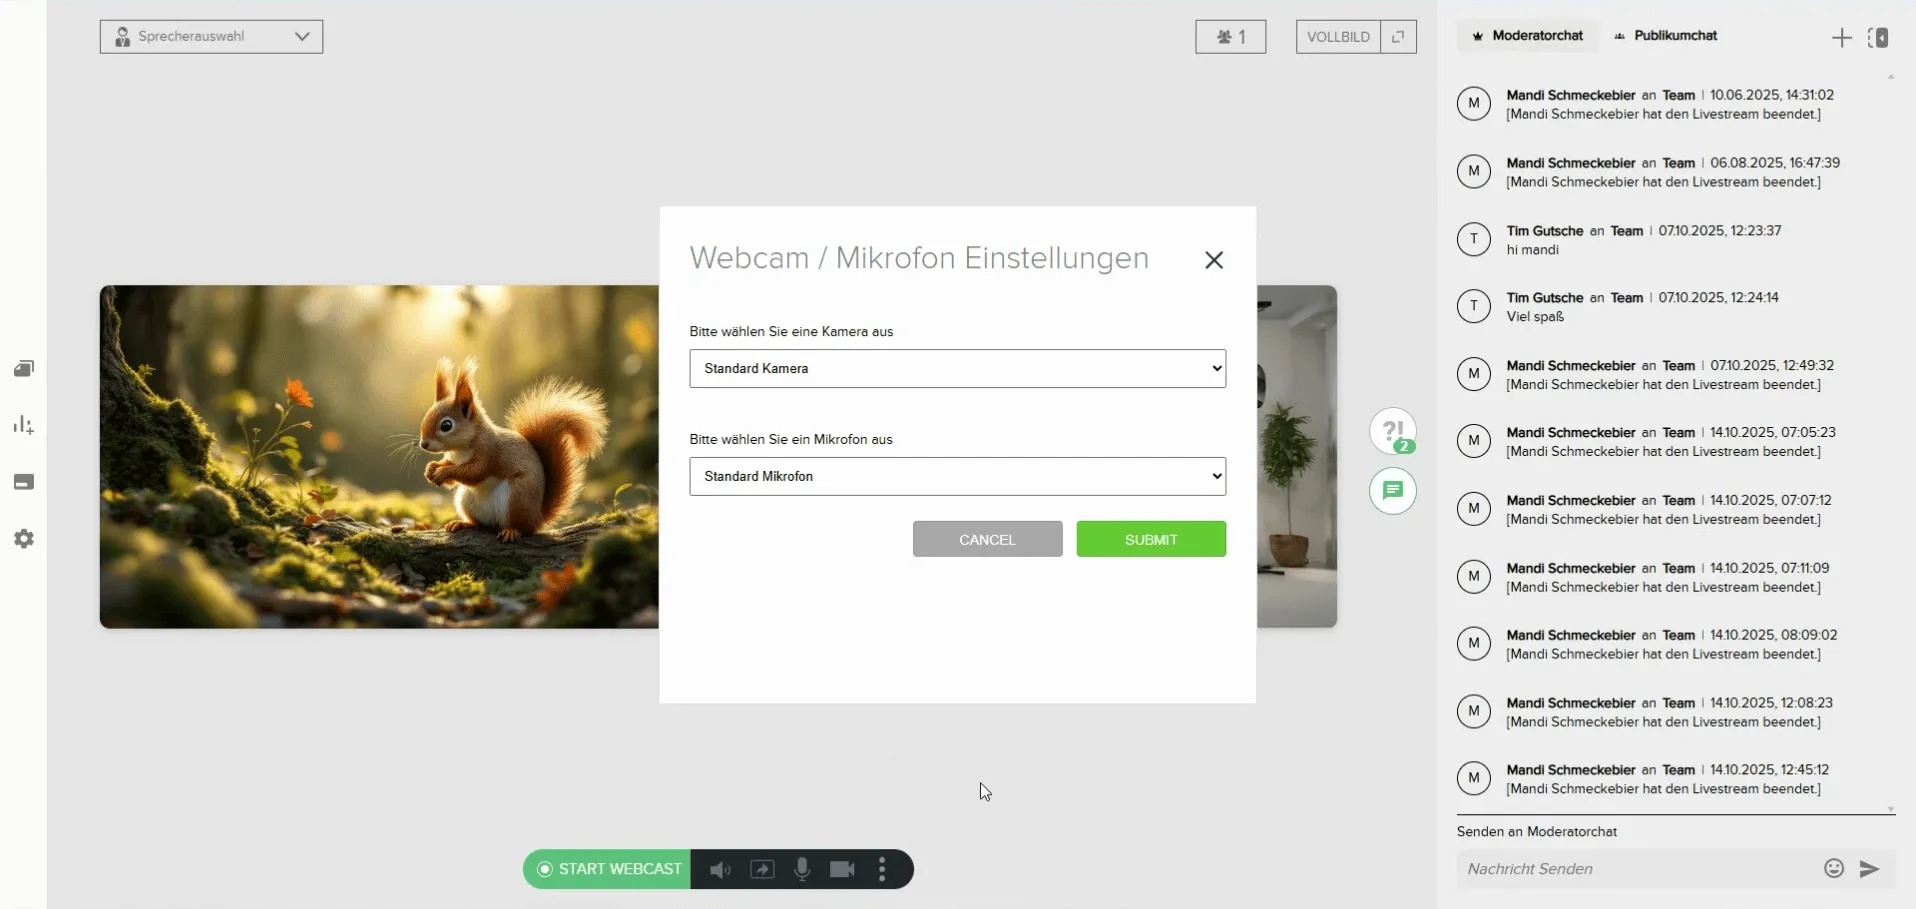
- Background Image (Optional): Right next to the camera settings, you can adjust your background image. Choose from predefined backgrounds or upload your own images to create a uniform and distraction-free environment.

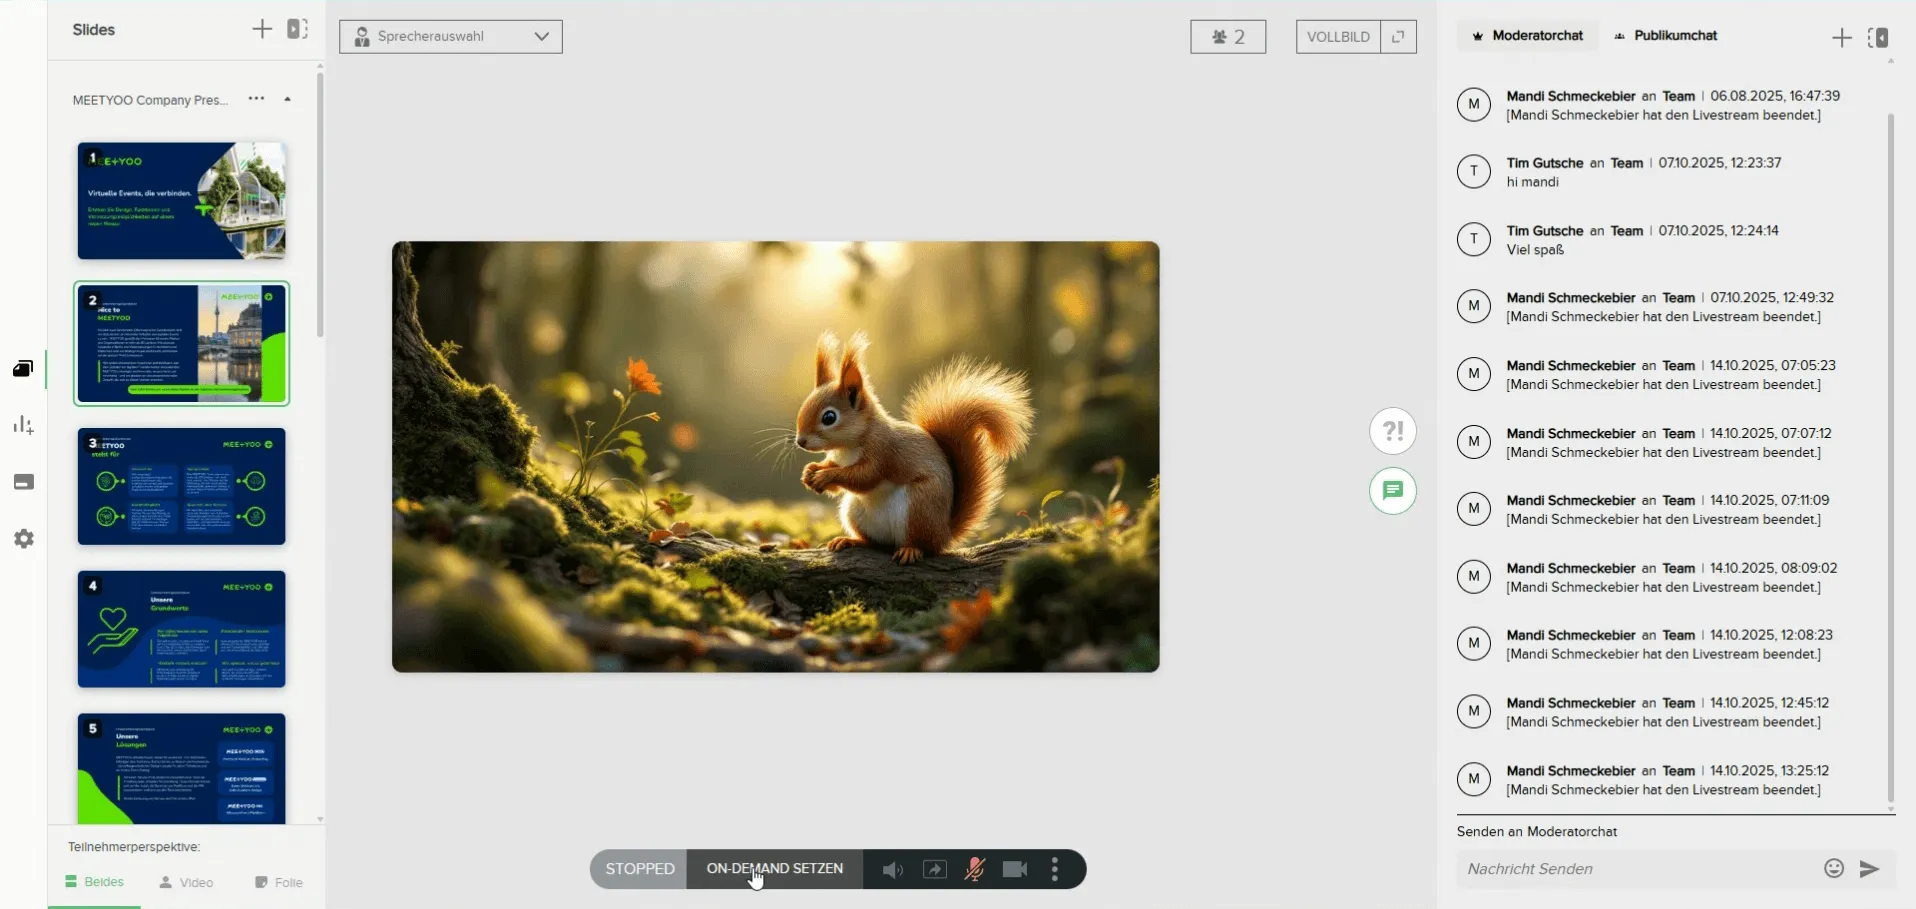
2. The Live Stream: Your Control as a Speaker
During the live stream, you as the speaker have full control over your presentation and interaction.
Going Live and Overview
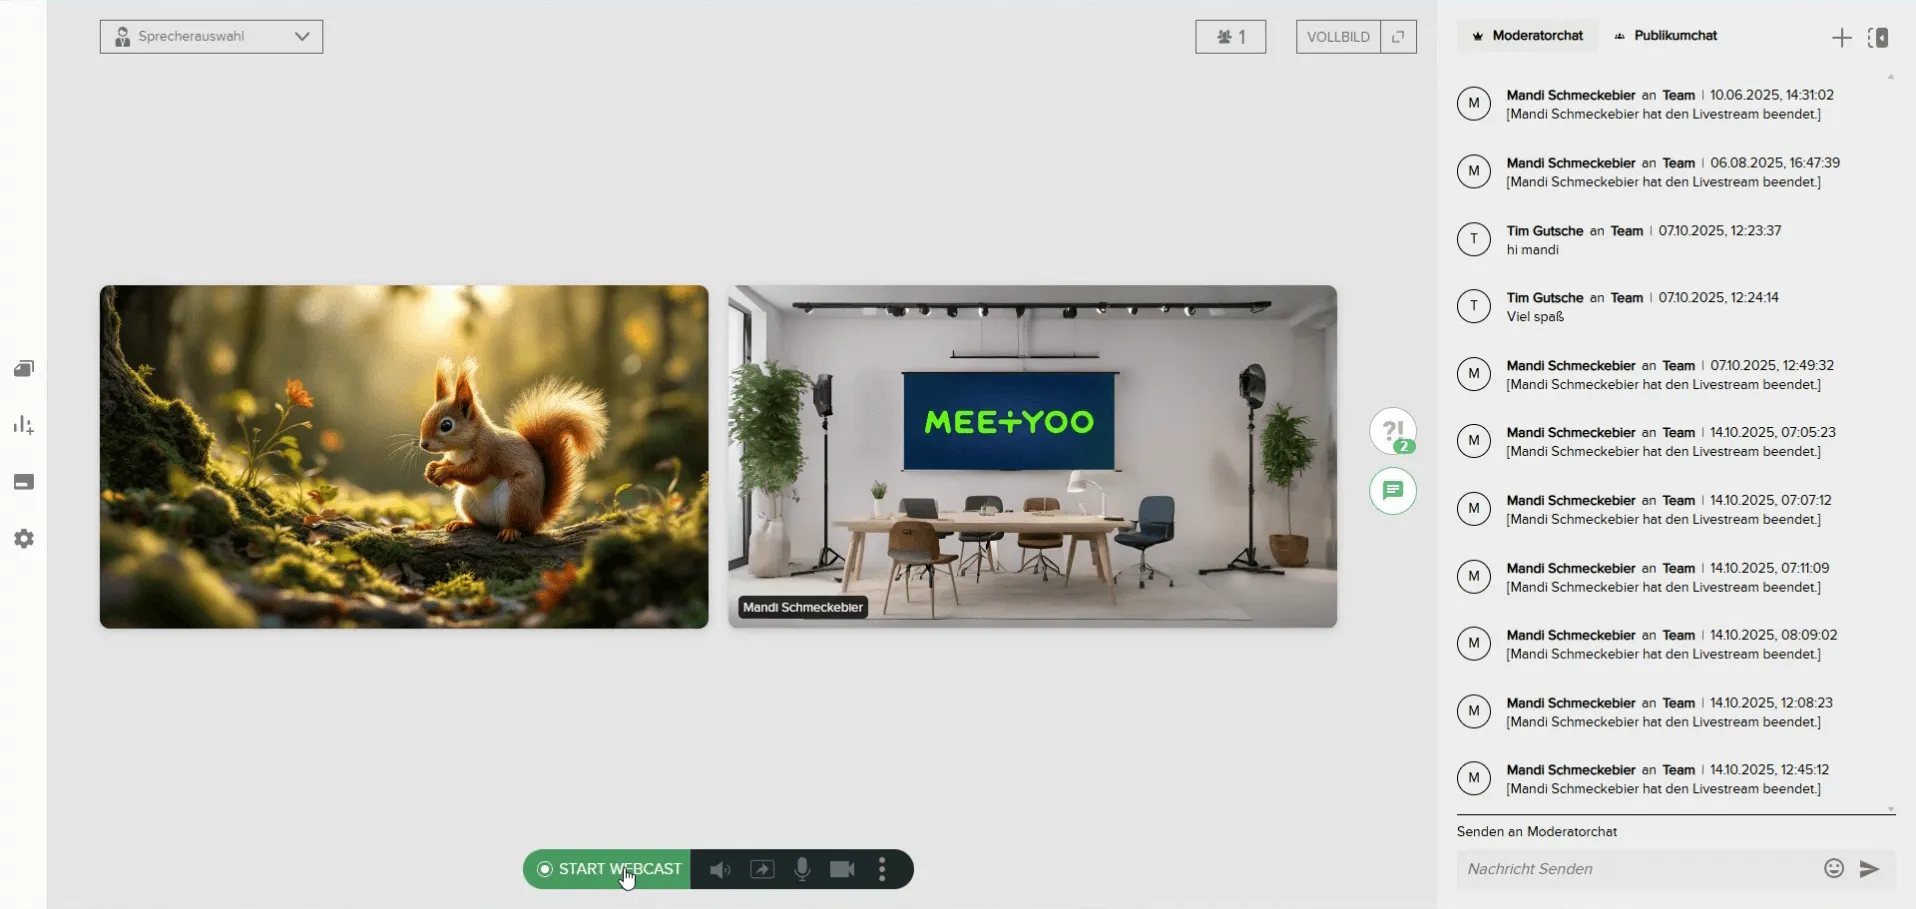
Important: The 'Start Webcast' button takes you live! As soon as you click, all logged-in participants can see and hear you. Only click it when you are truly ready.
- Starting the Webcast: Click the green 'Start Webcast' button at the bottom to start your stream. A small, green icon with a counter will appear in the top right, showing how long you have been live – useful for your time management!
Starting the Webcast - Participant and Moderator Overview:
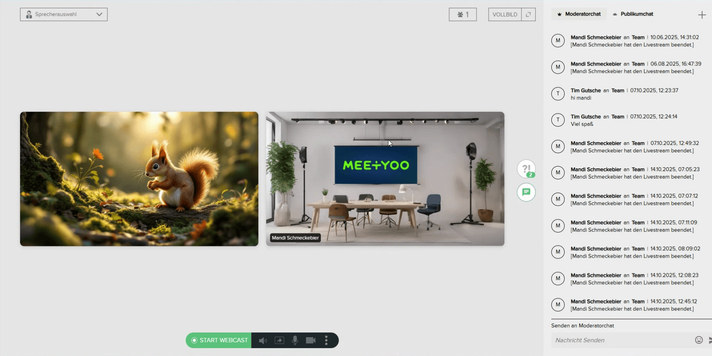
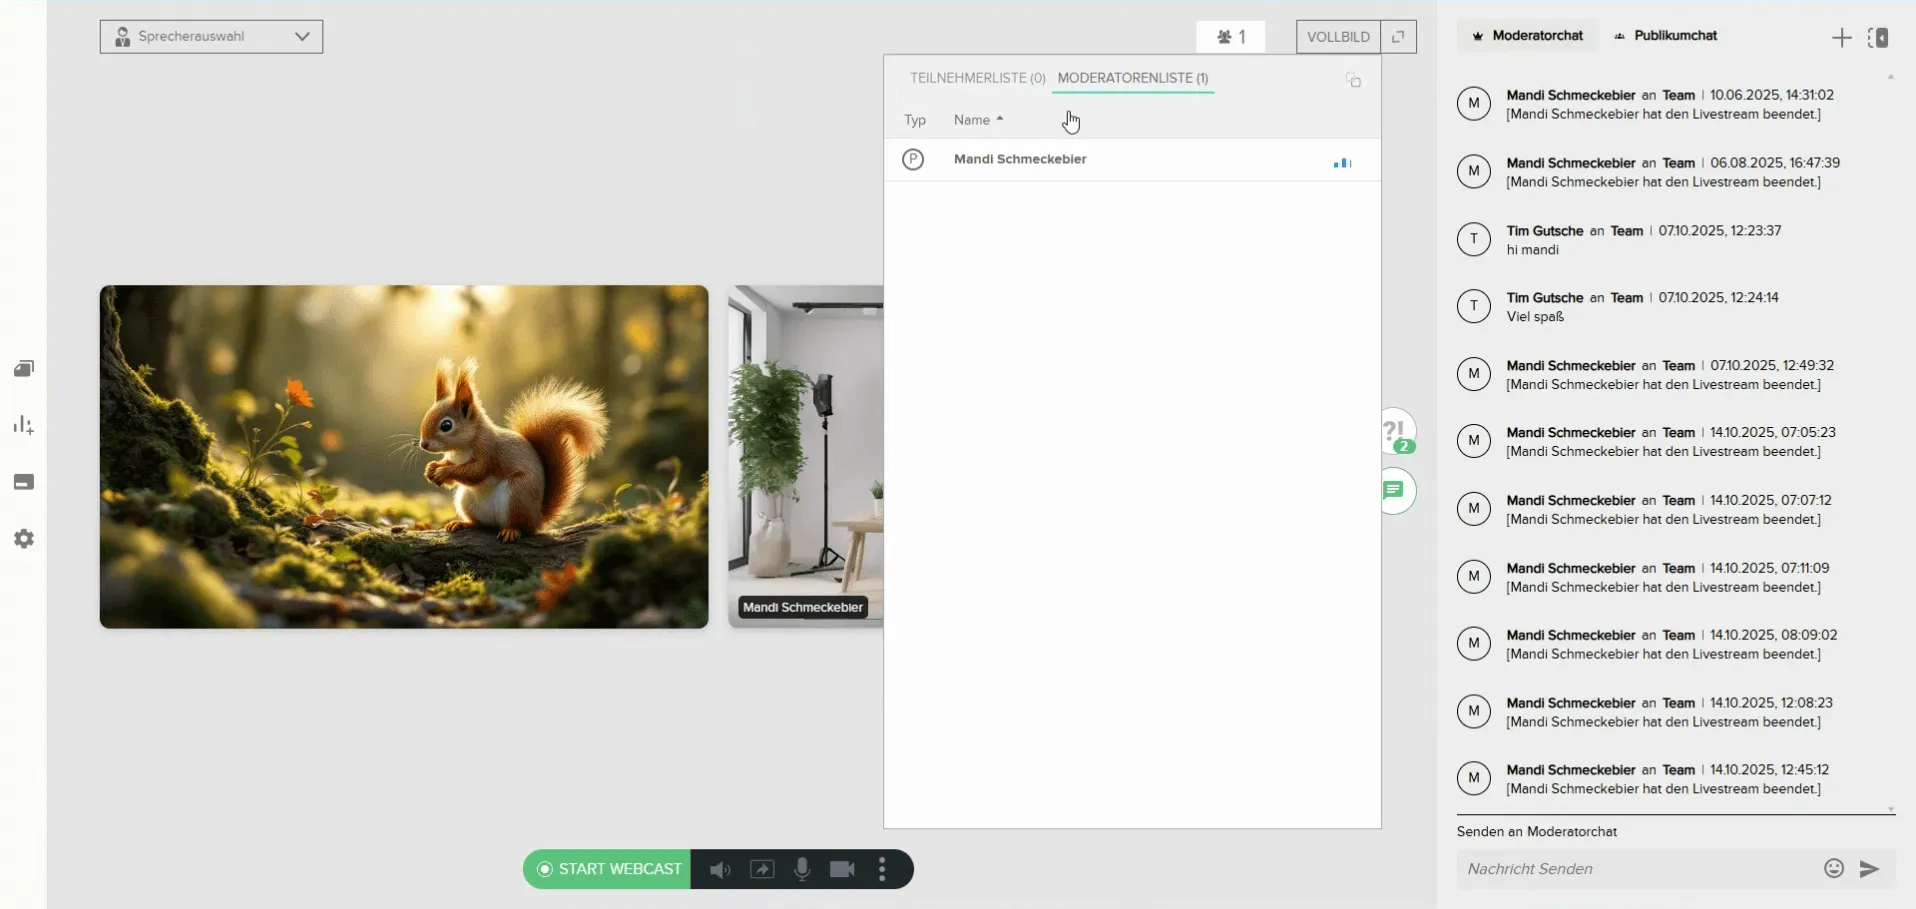
- In the top right, you see the current participant count. Clicking on it opens the list of all logged-in participants.
- In the moderator list, you see all speakers, moderators, and assistants who are also in the backend. This helps you keep track of who can currently see and hear you.
- Muting and Deactivating the Camera:
- In the control bar at the bottom, you can mute yourself or deactivate your camera at any time. This is especially useful when you are in the stream with multiple speakers and only the active person should be speaking.
Presenting your Slides
You control the slides in your live stream.
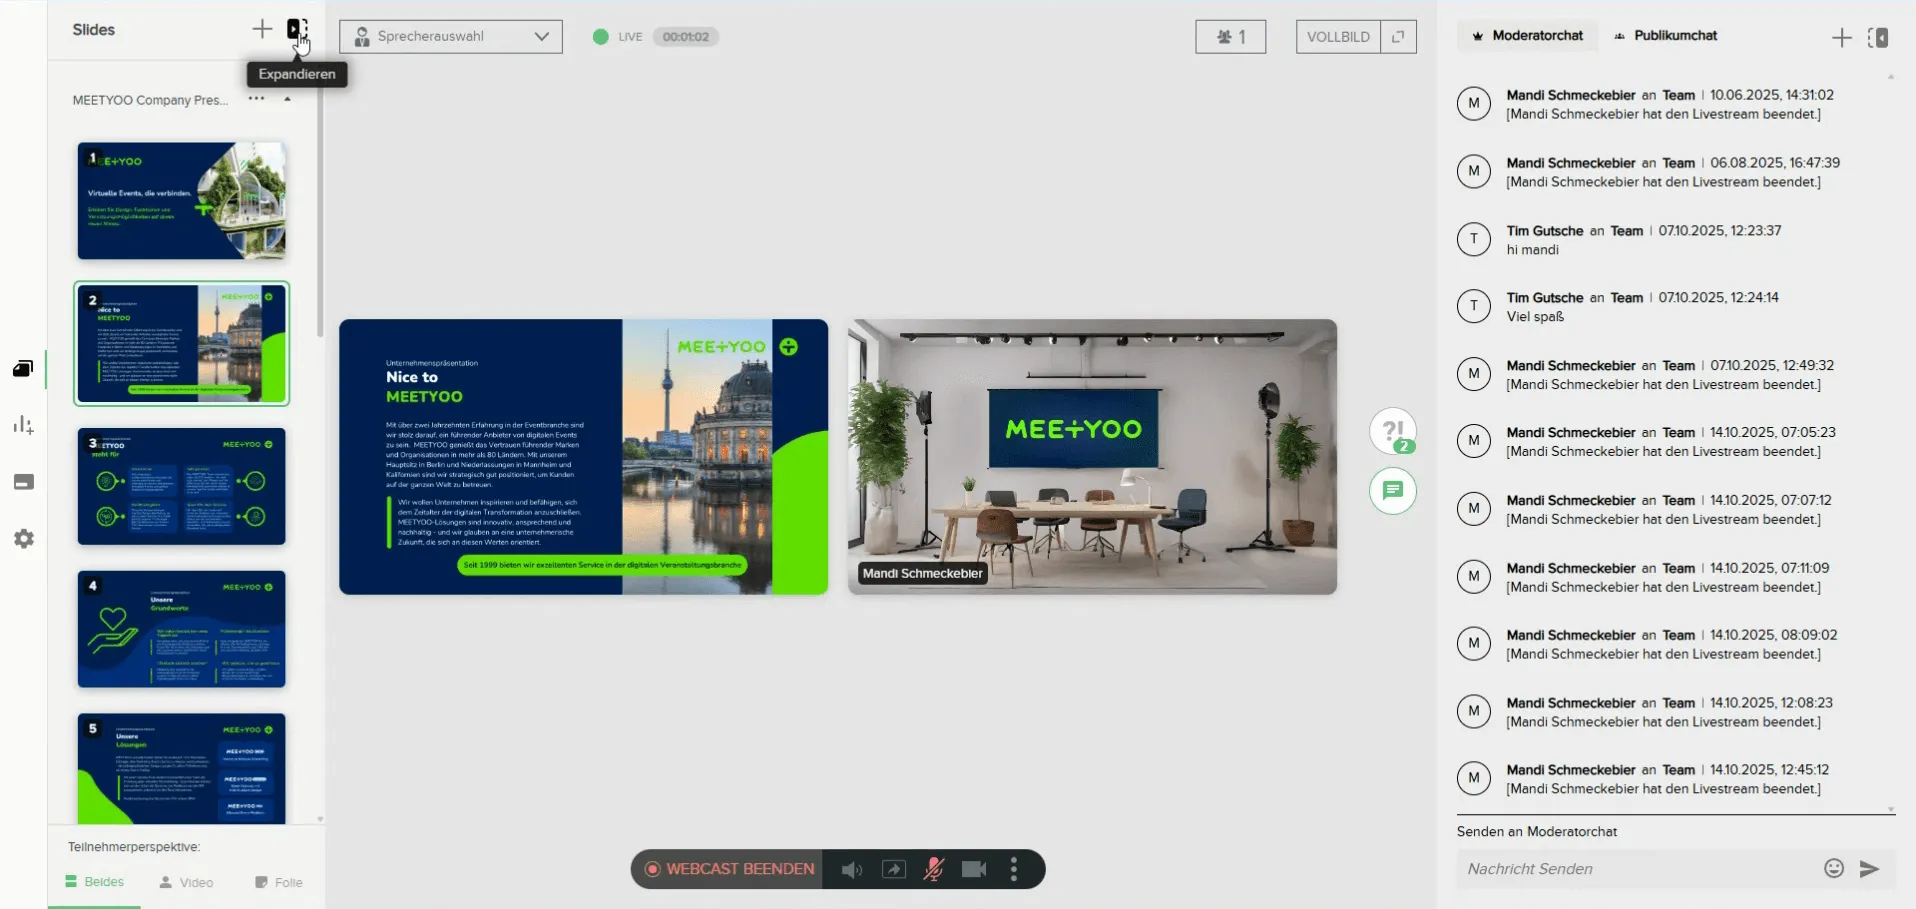
- Slide Overview: On the left side of the moderator area, you will find the overview of your uploaded slides.
- Slide Control: Everyone in the backend (speakers, moderators, assistants) can click through the slides. Make sure that only the active speaker clicks the slides forward to avoid unintentional jumps.
- Adjusting the View: If the preview is too small for you, you can enlarge it via the icon with the square and arrow ('Expand') and hide it again via the 'X'.
3. Engagement: Interaction with your Audience
Interaction with your participants takes place via the Chat and the Questions area (Q&A), provided these have been activated in the settings.
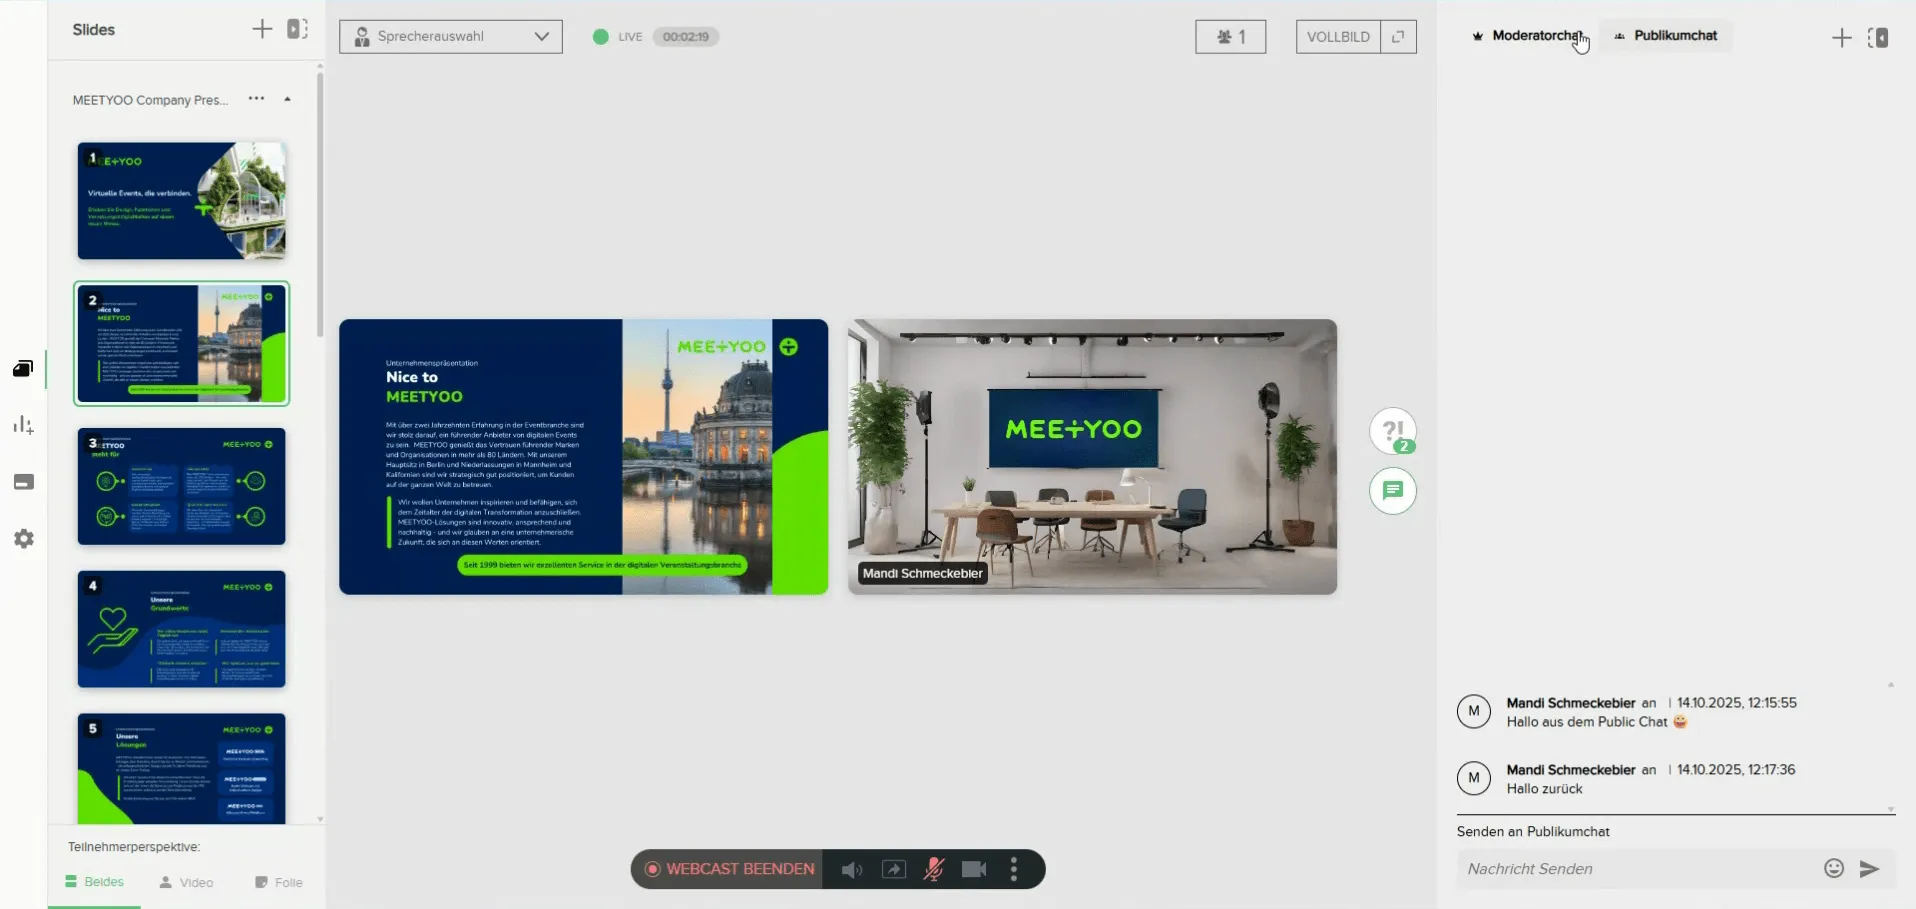
Moderator Chat vs. Public Chat
On the right side of your screen, you will find the chat areas:
- Moderator Chat: This chat is internal and only visible to moderators, speakers, and assistants. Use it for internal coordination and communication without participants seeing it.
- Public Chat: This is the public chat. Here you see messages from participants and can respond directly. All participants can see these messages.
Managing Questions (Q&A Area)
The Q&A area is used to collect written questions that are not visible to participants.
- Questions View: Submitted questions appear in the Q&A area (recognizable by the question mark icon). New questions are marked with a green counter.
- Handling Questions: Click on a question to get various options:
- Broadcast: Display the question to all participants.
- Prioritize: Mark the question as important.
- Assign: Assign the question to a specific speaker.
- Answer verbally/in writing: Mark how the question was answered.
- Archive: Remove the question from the active overview for a better flow.
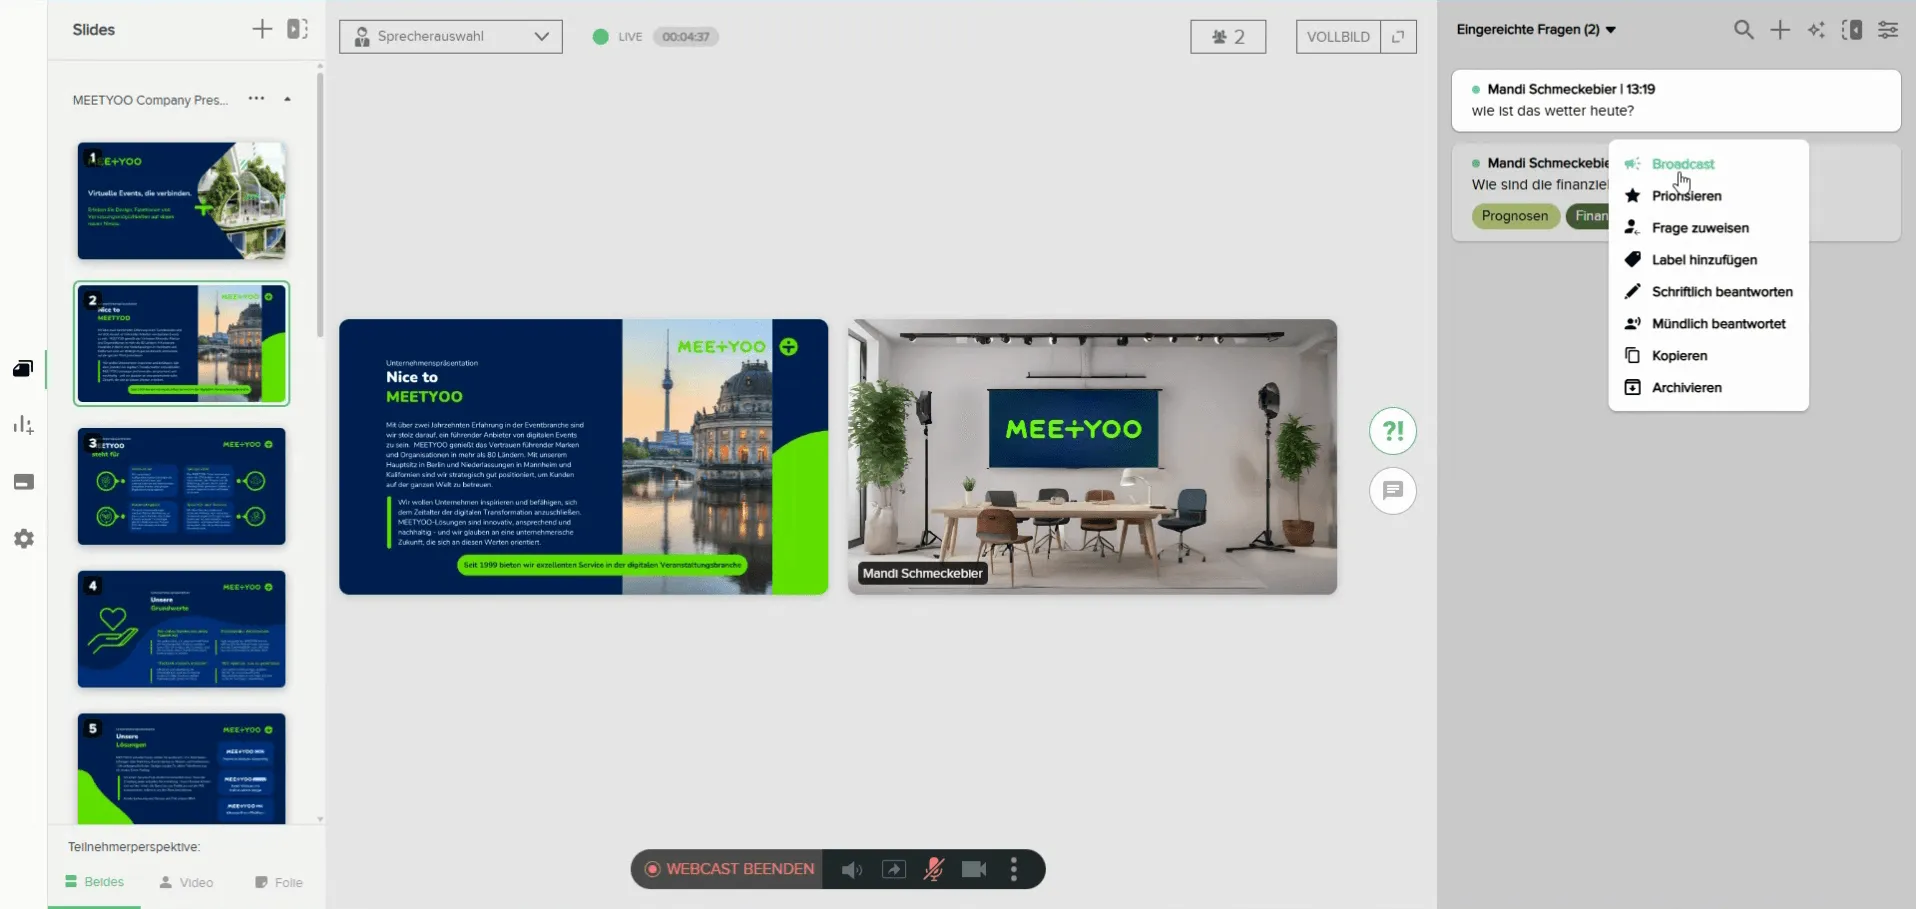
- Filters and Labels: You can assign labels (e.g., 'Finance', 'Product') to questions and sort the questions area or display only specific topics using the filter function (top right). This is the great advantage of Q&A compared to chat.

4. Important Notes for the Perfect Flow
Flexibility of the Participant Perspective
You can control the participant's view (bottom left in the control bar):
- Both: The participant can flexibly decide whether they want to see video, slides, or both. (Recommended)
- Only Video: The participant only sees your video.
- Only Slide: The participant only sees the slides.
Best Practice: The 'Both' setting offers participants the highest flexibility to customize their view individually.

The Time Delay
Note the Delay: There is a technical delay of approx. 20 seconds between your live statement and what your participants hear. If you directly ask participants for feedback or answers, remember to factor in this delay. Bridge this time with content interruptions.
5. After the Webcast: Ending and On-Demand
- End Webcast: Click the 'Webcast beenden' (End Webcast) button (which replaces the 'Start' button) to stop your stream.
- Set On-Demand: Immediately after ending, you will be asked if you want to set the recording to 'On-Demand'. Confirm this so your participants can immediately view the recording of your session afterwards.
With these steps, you are optimally prepared to successfully and confidently master your first webcast!