Feedback is the gold of every content creator. It helps you improve your future webcasts, better tailor content to your target audience, and increase engagement. The best part: You can set up an automatic feedback survey so that it pops up immediately after your live stream ends for your participants.
In this guide, we will show you how to create and activate a short, lean, and highly effective feedback survey in MEETYOO Show.
1. Finding the Feedback Configuration
All setup for your survey takes place centrally within the Event Settings:
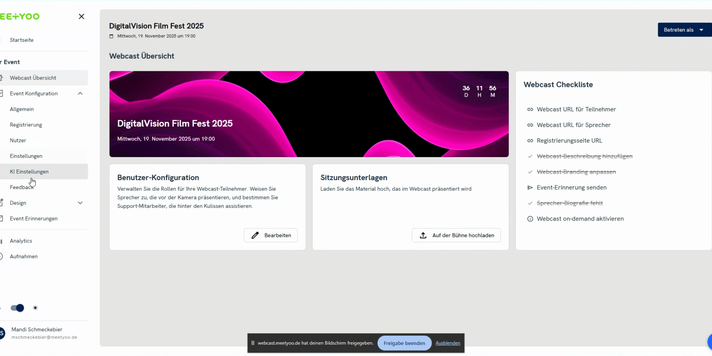
- Navigate to your Event in MEETYOO Show.
- In the left menu, under Settings, select Feedback.
Here you will see the overview for configuration. By default, the Status is set to Inactive and editing is Allowed (when no stream is running). You can customize the Completion Notice (e.g., "Thank you for watching!").
To start creating your questions, scroll to the Survey Elements section.
2. Adding and Configuring Survey Elements
We recommend limiting your feedback survey to a maximum of five to six questions. A short survey increases the likelihood that participants will complete it. You can use various question types, with Option Fields being suitable for ratings and Text Fields for open suggestions.
Option Fields (Rating Questions)
Option Fields are perfect for asking for ratings on a scale (e.g., "Very good" to "Bad").
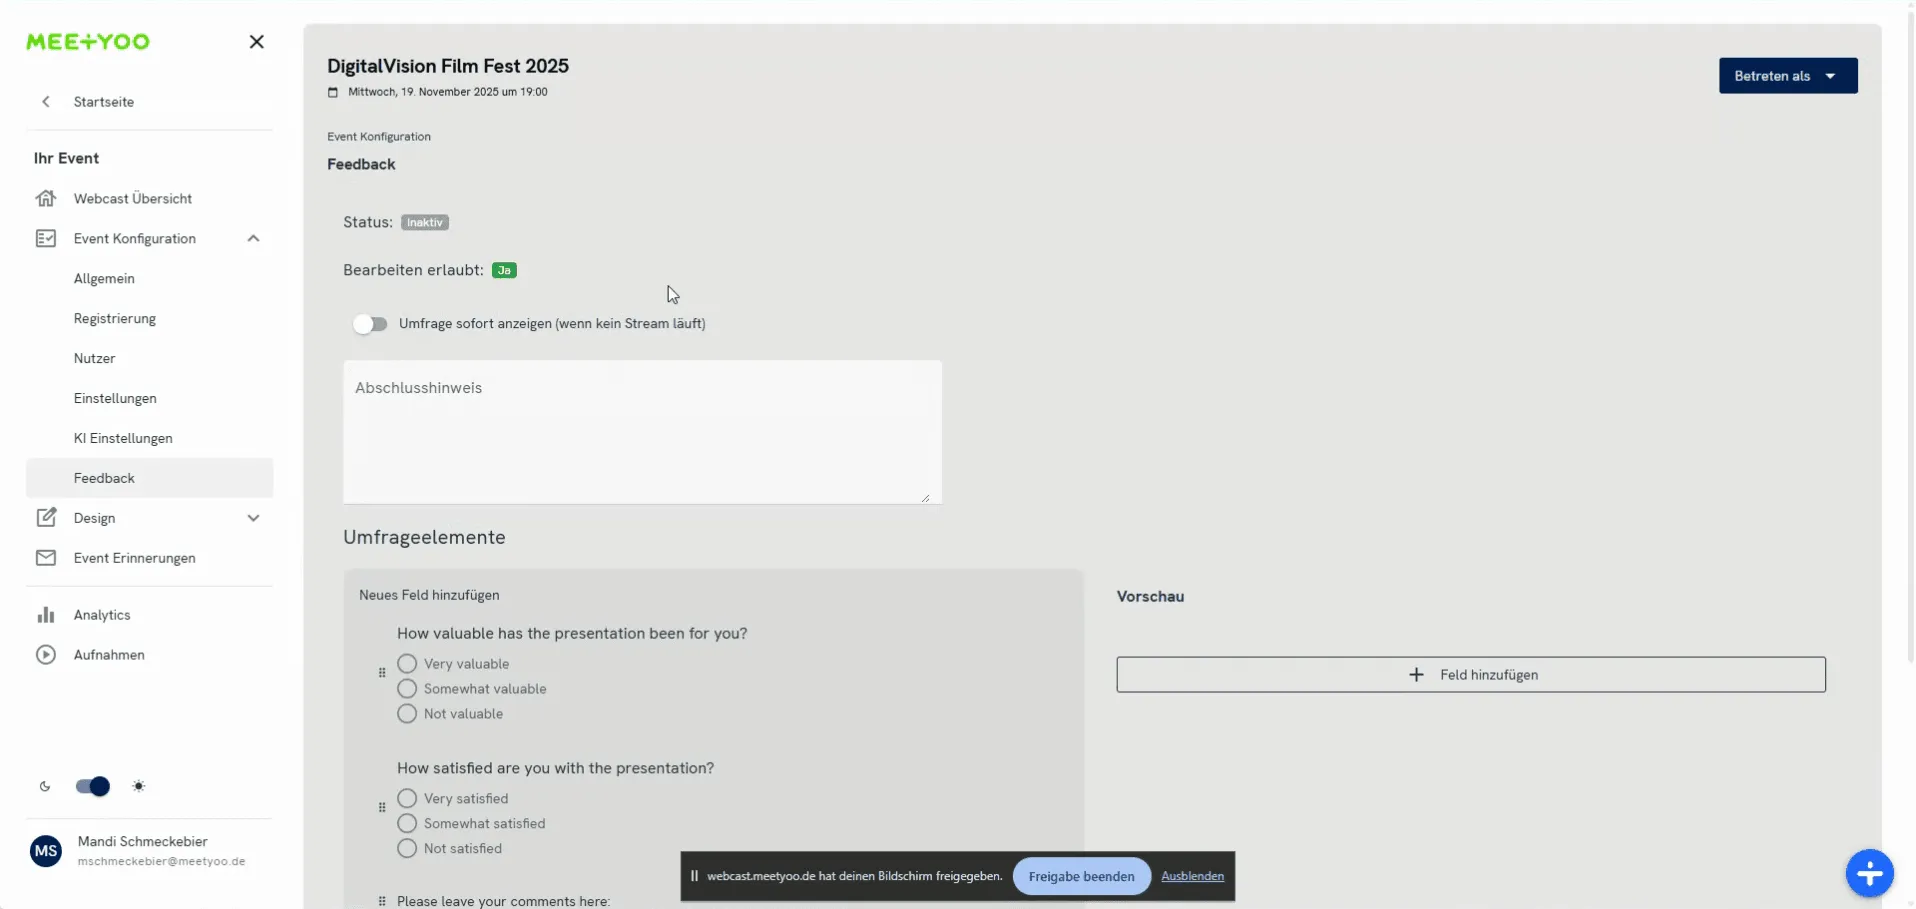
- Click on + Add Field under Survey Elements.
- In the Field Name field, enter your question, for example, "How would you rate this webcast overall?".
- In the dropdown menu, select the field type Options Field.
- Click on Save.
After creating the field, you can add and customize the answer options:
- Click on the newly created field.
- Under ADD OPTION, enter the answer choices. Typical examples include:
- very good
- okay
- bad
- Optional: Activate the Required checkbox if this question must be answered.
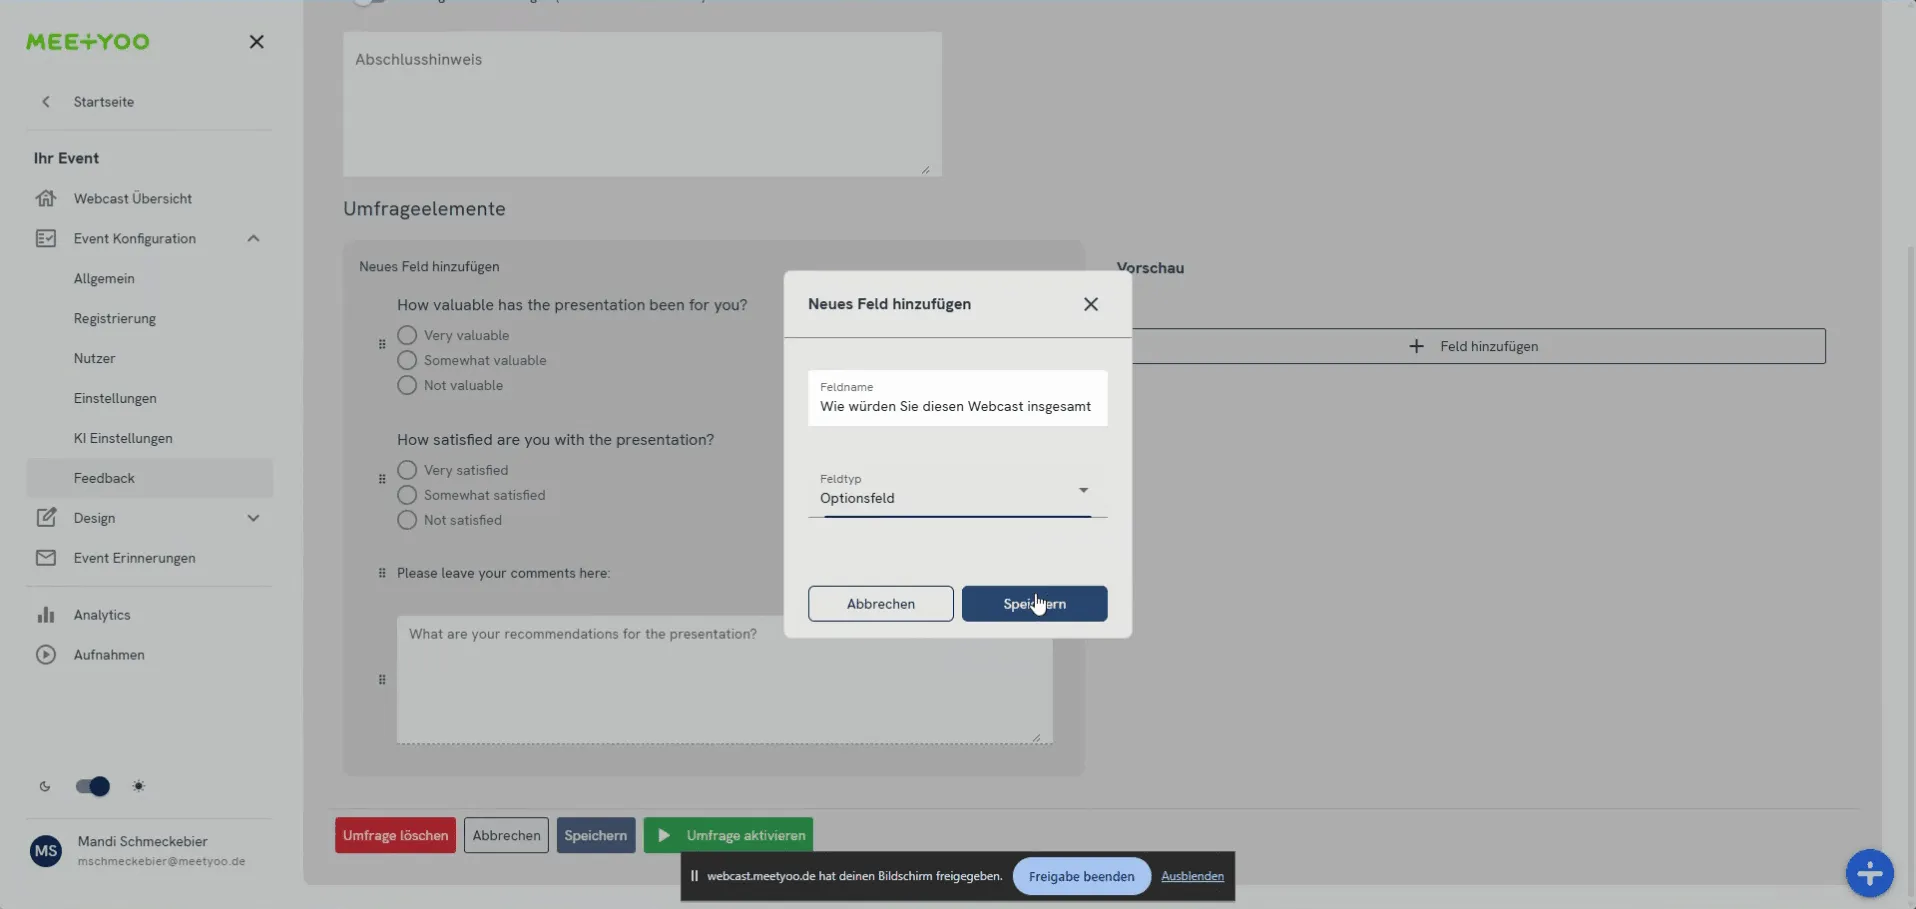
Best Practice Tip: For the question "How valuable was the content for you?", use options like very valuable, okay, and not valuable. This gives you clear feedback on the content quality of your webcast.
Text Fields (Open Questions)
Text Fields are ideal for collecting open comments or suggestions from your participants.
- Click on + Add Field again.
- In the Field Name, enter the open question, e.g., "Which topics should be covered in future webcasts?".
- Select the field type Text Field.
- Click on Save.
Important Note for Open Questions: It is advisable not to mark open questions as required fields. This ensures that participants who cannot think of anything immediately can still quickly submit the rest of the survey.
3. Activating the Survey
Once you have set up all questions to your complete satisfaction, you must activate the survey.
- Review all questions and settings one last time.
- Click the Activate Survey button.
Attention: An Important Note on Editing
You will be faced with a warning notice informing you that the survey cannot be edited after activation.
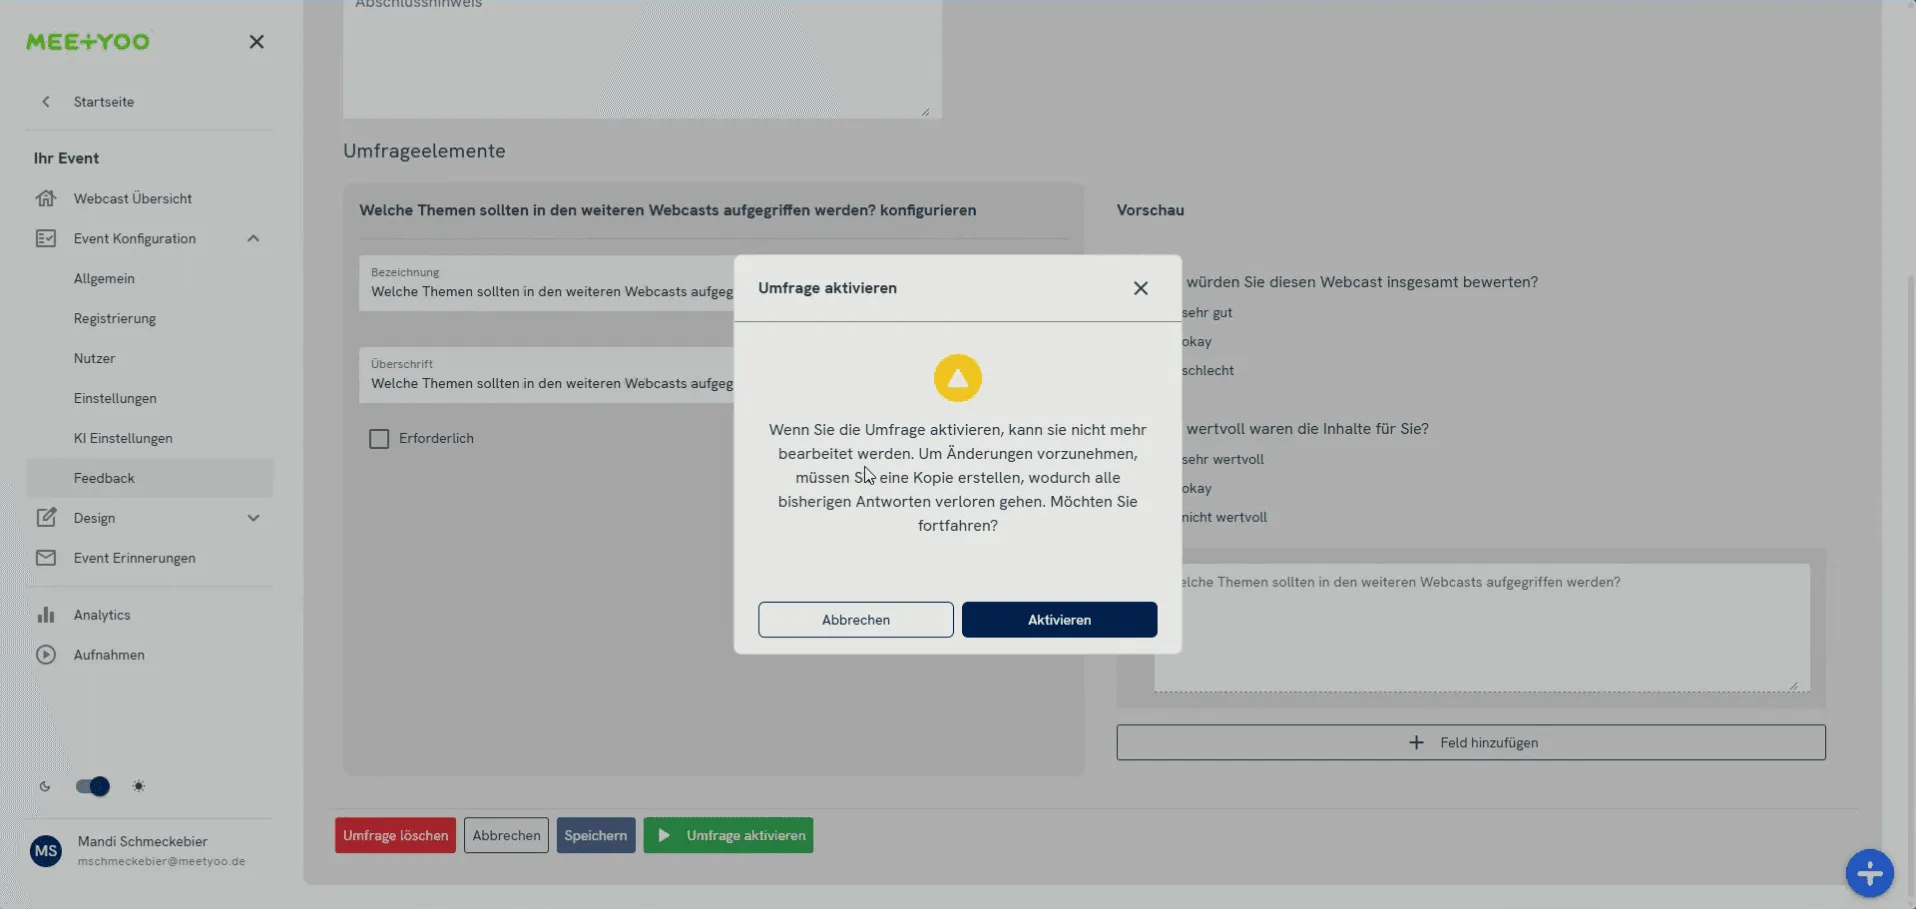
The reason: To avoid falsifying the validity of already received answers, the system blocks subsequent editing.
- If changes are necessary: Select Cancel, make the changes, and activate the survey again.
- If you are sure: Click Activate.
The status now changes to Active, and the survey is ready.
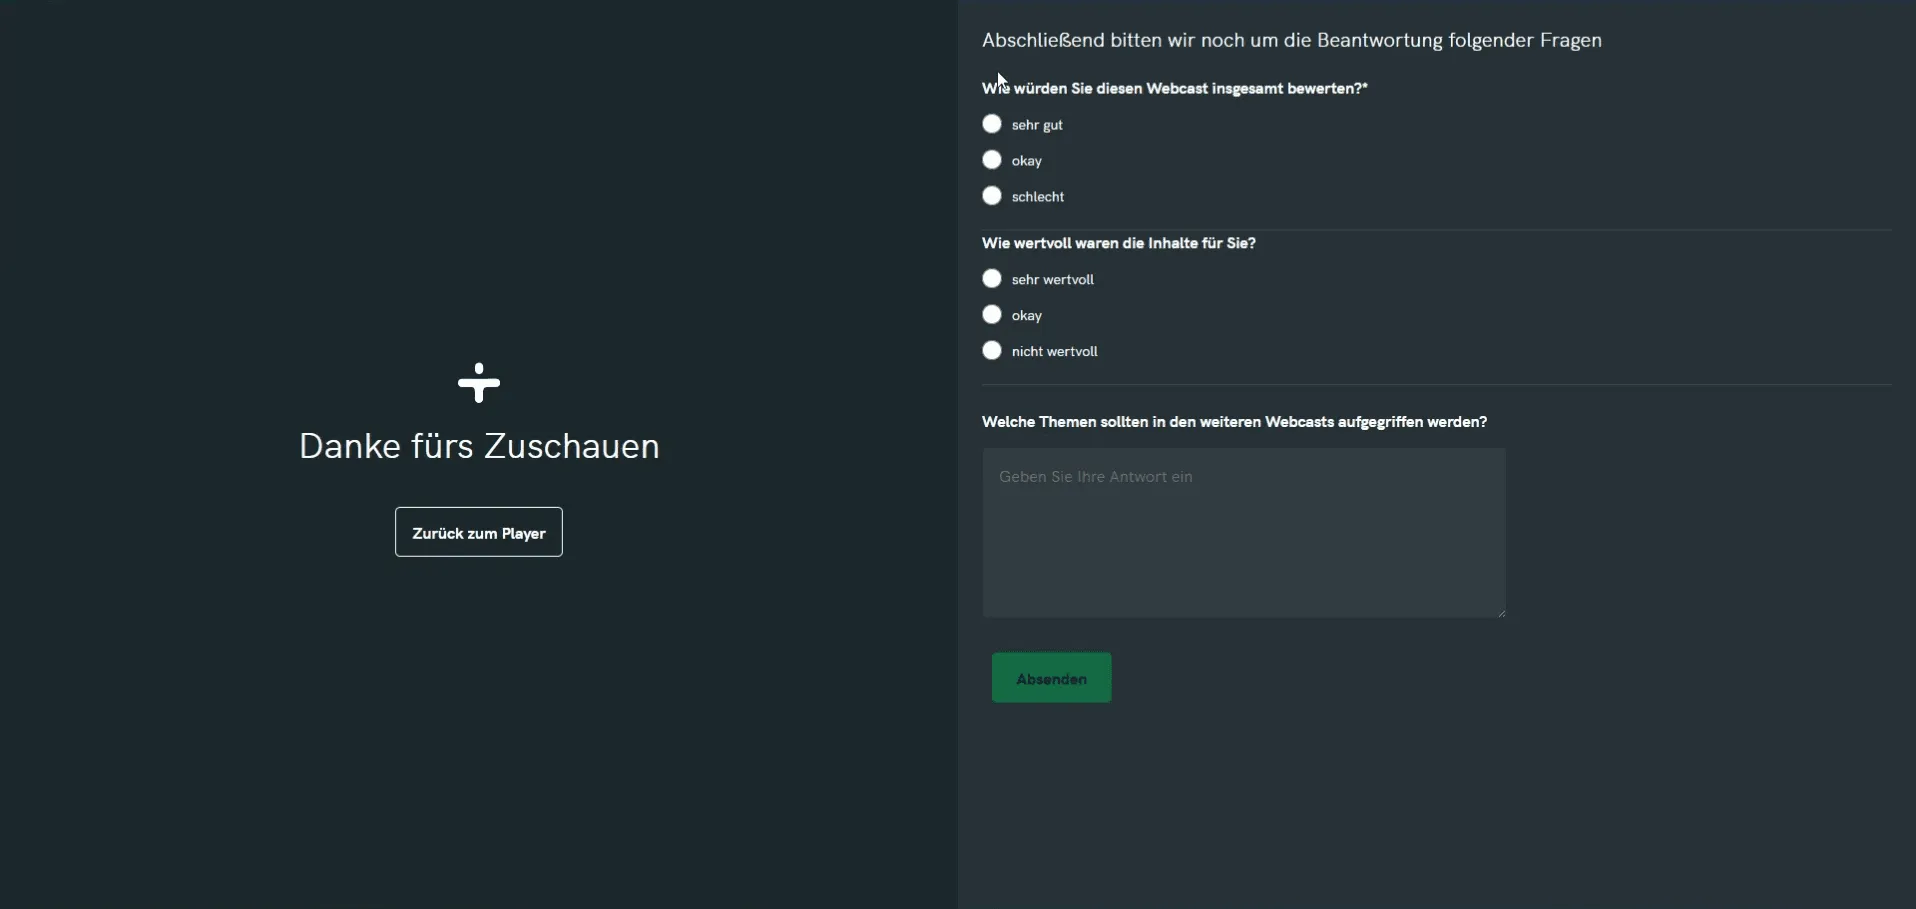
4. The Participant Experience
When your live webcast has ended (by clicking End Webcast in the studio), the survey will automatically appear to all participants who watched.
Your participants will see the questions you created, can select the corresponding options, and enter text. After submitting the survey, they receive a success message and can return to the player view.
You have now completed all the necessary steps to collect valuable and directly actionable feedback after your webcast!